Picture this: you’re halfway through a busy weeknight, the fridge is a sad jumble of leftovers, and you’re craving something that feels indulgent yet feels like a treat you can actually eat without guilt. You open the pantry, rummage through the cookie jar, and something ridiculous pops into your head – what if a cheesecake could be fried into bite‑size, caramel‑crusted morsels that melt in your mouth like a cloud of sweet nostalgia? That was the spark that set this recipe on fire.
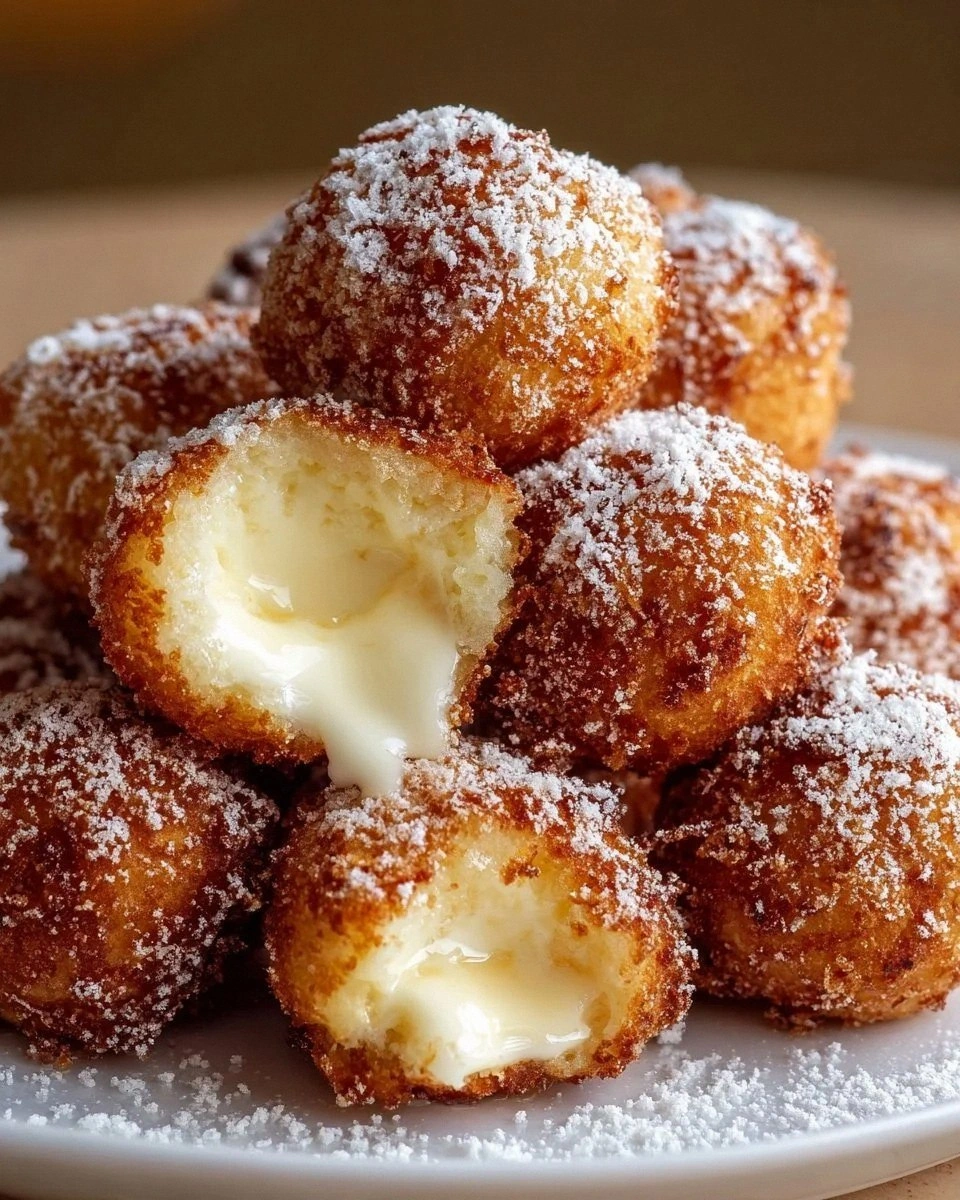
I’m not talking about a standard cheesecake that sits in a pan for hours. No, this is a quick‑fire, no‑fuss version that turns the creamy, tangy core of a classic cheesecake into a crispy, golden bite that shatters like thin ice when you take a bite. The moment you lift one, the scent of toasted batter, a hint of vanilla, and the faint sweetness of powdered sugar hit you like a warm hug. The first bite is a delightful contrast: a crunchy exterior that crackles, followed by a creamy, velvety interior that feels like a secret whisper of dessert. It’s that kind of culinary magic that makes you want to shout, “I dare you to taste this and not go back for seconds.”
What makes this version stand out from every other recipe out there? The answer lies in a few clever twists: using a light, airy batter that still holds the cheesecake’s signature richness, coating the bites with a crunchy breadcrumb shell that gives a satisfying snap, and a subtle vanilla infusion that lifts the flavor profile. Most recipes get this completely wrong, either over‑baking the batter or under‑seasoning the coating, but this one strikes the perfect balance. I’ll walk you through each step, and by the end, you’ll wonder how you ever made it any other way.
Ready for the game‑changer? Let’s dive in and turn your kitchen into a playground of crispy, creamy delights. And remember, this is hands down the best version you’ll ever make at home, so keep an eye on the details, and don’t skip the secrets I’ve tucked away in the boxes below.
What Makes This Version Stand Out
- Taste: The delicate sweetness of powdered sugar pairs perfectly with the tangy cream cheese, while vanilla extract adds a warm depth that lingers on the palate. The result is a bite that feels both indulgent and refined.
- Texture: The batter is light enough to puff slightly when fried, yet dense enough to hold the creamy center. The breadcrumb coating delivers a crunch that shatters like thin ice, creating a satisfying contrast.
- Simplicity: No fancy equipment or long prep times. All you need is a skillet, a bowl, and a quick whisk. Even a novice can master this with minimal fuss.
- Uniqueness: Combining cheesecake with a fried coating is a rare culinary crossover. It turns a familiar dessert into a playful appetizer that can wow guests or serve as a comforting solo treat.
- Crowd Reaction: Friends and family will instantly recognize the familiar cheesecake flavor but will be surprised by the crisp exterior. It’s the kind of dish that sparks conversation and demands a second bite.
- Ingredient Quality: Using high‑quality cream cheese and fresh vanilla extract ensures that the flavor shines through. Even the simplest ingredients are elevated with careful handling.
- Cooking Method: Frying at the right temperature preserves the batter’s lightness and ensures a golden crust. The method is quick, yet the result feels like a gourmet experience.
- Make‑ahead Potential: The batter can be pre‑mixed and stored in the refrigerator for up to 24 hours, and the bites can be fried fresh or reheated in a toaster oven for a crisp finish.
Inside the Ingredient List
The Flavor Base
At the heart of these bites is the creamy, tangy cheesecake mixture. The 8 ounces of softened cream cheese provide a smooth, velvety texture that melts in your mouth. Powdered sugar, at 1 cup, gives that classic cheesecake sweetness while balancing the richness. Vanilla extract, just a teaspoon, adds warmth and depth, making the flavor profile feel complete. If you’re looking for a lighter version, swap the cream cheese for ricotta – it offers a similar texture but with a slightly tangier bite.
The Texture Crew
Structure and crunch come from the batter and coating. 1 cup of all‑purpose flour gives the batter a light, airy base that puffs slightly when fried, while 1 teaspoon of baking powder lifts the mixture, preventing it from becoming dense. The 2 cups of breadcrumbs create a golden shell that crumbles into a satisfying crunch. For an extra crunch, try panko breadcrumbs – they’re lighter and crispier, but regular breadcrumbs work just fine. The 1/2 teaspoon of salt enhances every component, turning simple ingredients into a harmonious whole.
The Unexpected Star
The 1 cup of milk is the secret glue that brings everything together. Whole milk adds creaminess and helps the batter reach the right consistency. If you’re vegan or dairy‑free, almond milk works as a great alternative, giving a subtle nutty flavor. The single egg acts as a binder, ensuring the mixture holds together during frying. If you’re avoiding eggs, a tablespoon of flaxseed mixed with 3 tablespoons of water can serve as an excellent substitute.
The Final Flourish
The last ingredient, oil for frying, is the key to that crisp exterior. Choose a neutral oil with a high smoke point, such as canola or vegetable oil. This keeps the flavor pure while allowing the bites to fry at a steady temperature. The amount of oil isn’t critical – just enough to submerge the pieces. Remember, a little oil goes a long way, and too much will make the bites soggy.
Everything's prepped? Good. Let's get into the real action...
The Method — Step by Step
- First, preheat your oil. Pour about 2 cups of neutral oil into a deep skillet and heat it to 350°F (175°C). Use a thermometer to keep the temperature steady; if it’s too hot, the coating will burn before the center cooks. I always keep a small cup of water nearby – a drop will sizzle and let me know if the oil is ready.
- While the oil heats, whisk together the cream cheese, powdered sugar, and vanilla extract in a medium bowl until smooth. The mixture should be creamy and lump‑free; if you see any clumps, let it sit for a minute and whisk again. This step is crucial – a smooth base ensures the batter doesn’t separate when fried.
- In a separate bowl, combine the flour, baking powder, and salt. Stir until evenly mixed. Then, add the milk and egg, whisking until the batter is silky and free of lumps. The batter should have a thick, pourable consistency – not too runny, not too thick.
- Fold the wet cream cheese mixture into the dry batter until just combined. Avoid over‑mixing; you want a few streaks of cream cheese for that luscious center. The batter should feel light yet cohesive.
- Using a tablespoon or a small cookie scoop, drop portions of the batter into a bowl of breadcrumbs. Roll each portion until fully coated. The coating should cling to the batter, forming a thick shell that will crisp up beautifully during frying.
- Carefully lower each breadcrumb‑coated piece into the hot oil. Fry in batches to avoid overcrowding, which lowers the oil temperature. Fry each bite for 2–3 minutes on each side, or until a golden brown crust forms and the interior feels firm yet still moist. The sizzling sound is a sign of progress; it should be a steady hiss, not a roar.
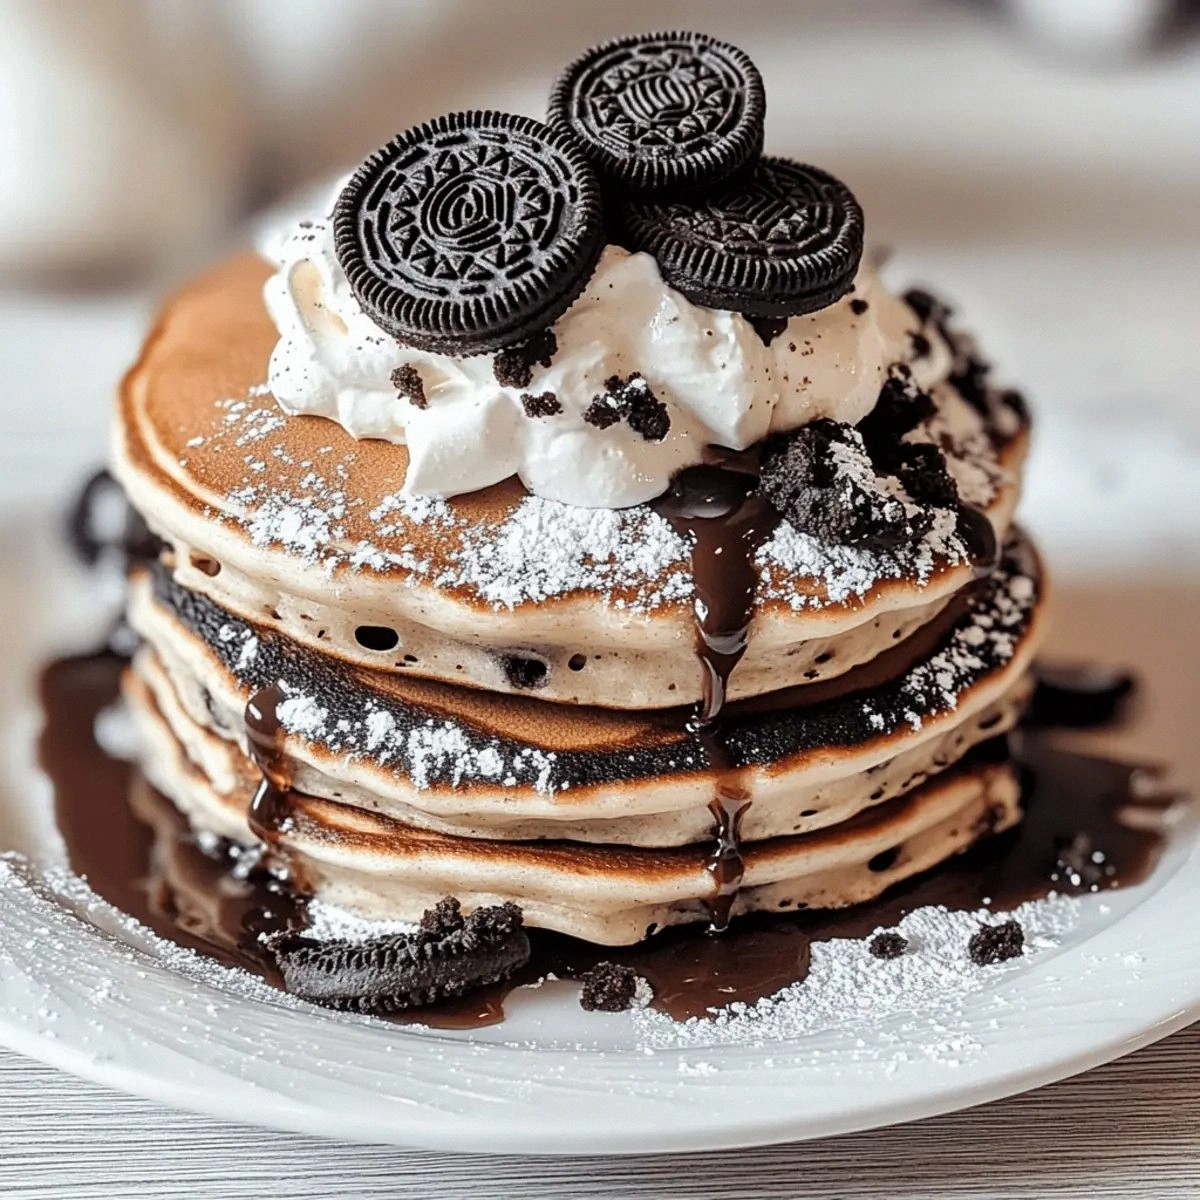
- Remove the bites with a slotted spoon and let them drain on paper towels for a minute. This removes excess oil and keeps the coating crisp. If you’re serving immediately, garnish with a dusting of powdered sugar or a drizzle of caramel sauce for extra flair.
- Serve hot, or keep them warm in a low oven (200°F/90°C) until ready to serve. The key is to keep the coating crisp; if you let them sit too long at room temperature, they’ll become soggy. Enjoy the burst of flavor and texture with every bite.
That's it — you did it. But hold on, I've got a few more tricks that'll take this to another level...
Insider Tricks for Flawless Results
The Temperature Rule Nobody Follows
Many home cooks skip the thermometer and guess the oil temperature. That’s a recipe for disappointment. Use a candy or deep‑fry thermometer; aim for 350°F (175°C). If the oil is too hot, the coating will brown too quickly, leaving the center raw. If it’s too cool, the bites will soak up oil and become greasy.
Why Your Nose Knows Best
When you start frying, you’ll notice a distinct aroma of toasted breadcrumbs and sweet cheesecake. That scent is a cue that the batter is cooking through. If the smell is faint, the oil isn’t hot enough; if it’s overpowering, the temperature is too high. Trust your nose to guide you.
The 5‑Minute Rest That Changes Everything
After you’ve finished frying, let the bites rest on a rack or paper towels for five minutes. This allows steam to escape, preventing sogginess. I’ve seen people skip this step, and the result is a soggy coating that loses its crunch.
Use Fresh Ingredients for a Fuller Flavor
Freshly softened cream cheese and freshly ground vanilla extract make a noticeable difference. The richer the base, the more pronounced the cheesecake flavor. Even a small quality upgrade can elevate the entire dish.
Keep a Clean Frying Pan
Residual crumbs from previous batches can burn and give the new bites a bitter taste. Wipe the pan between batches, or use a separate skillet if you’re making a large quantity. Cleanliness is key to consistent flavor.
Creative Twists and Variations
This recipe is a playground. Here are some of my favorite ways to switch things up:
Chocolate‑Infused Bites
Add 2 tablespoons of cocoa powder to the batter for a chocolatey twist. The chocolate pairs beautifully with the sweet cream cheese, and the coating remains crisp.
Nutty Crunch
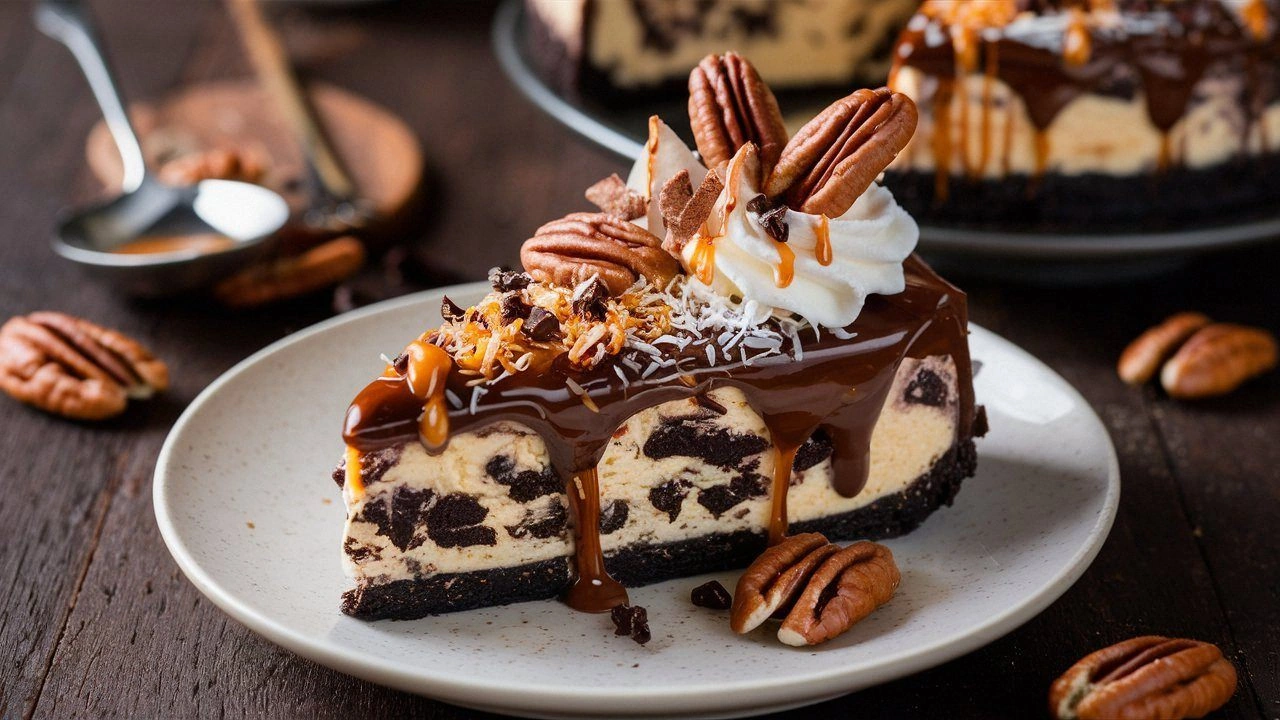
Replace regular breadcrumbs with crushed toasted almonds or pecans. The nutty flavor adds depth, and the coating becomes crunchy and slightly chewy.
Spiced Delight
Stir in 1/4 teaspoon of cinnamon and a pinch of nutmeg into the batter. The warm spices complement the vanilla, creating a dessert that feels like a holiday treat.
Berry Swirl
Fold in a handful of fresh blueberries or raspberries into the batter before coating. The berries burst in the center, giving a juicy surprise.
Caramel Drizzle
Serve the bites with a drizzle of homemade caramel sauce. The rich, buttery caramel amplifies the sweetness and adds a glossy finish.
Salted Caramel Twist
After frying, sprinkle sea salt on the warm bites and drizzle with caramel. The salt cuts through the sweetness, creating a balanced flavor profile.
Storing and Bringing It Back to Life
Fridge Storage
Store the fried bites in an airtight container in the refrigerator for up to 3 days. Keep them on a rack or parchment paper to maintain crispness. When ready to serve, reheat in a 350°F oven for 5 minutes.
Freezer Friendly
Freeze the bites on a parchment‑lined tray for up to 2 months. Once frozen, transfer to a zip‑lock bag. To reheat, bake at 350°F for 10 minutes or until hot.
Best Reheating Method
For the freshest texture, use a toaster oven. Set to 375°F and heat for 3–4 minutes. If you don’t have a toaster oven, a skillet on medium heat works as well – just flip halfway through.
Add a tiny splash of water before reheating — it steams back to perfection, keeping the coating crisp and the interior moist.