I was standing in my kitchen, staring at a ruined cheesecake that had turned into a sad, rubbery blob on the plate, when my friend called me up with a dare: “Make a protein cheesecake that actually tastes like a dessert, not a science experiment.” I laughed, grabbed the ingredients, and decided that this would be the turning point. The moment the batter hit the pan, the air filled with a buttery, slightly sweet aroma that made my stomach growl. My eyes widened at the glossy sheen of the crust, while the gentle hum of the oven was a steady drumbeat of anticipation. And the first bite? It was like a velvety cloud of flavor with a hint of citrus that left me craving more. That disaster turned into a revelation, and I’m about to share the recipe that turned my kitchen into a protein-packed bakery.
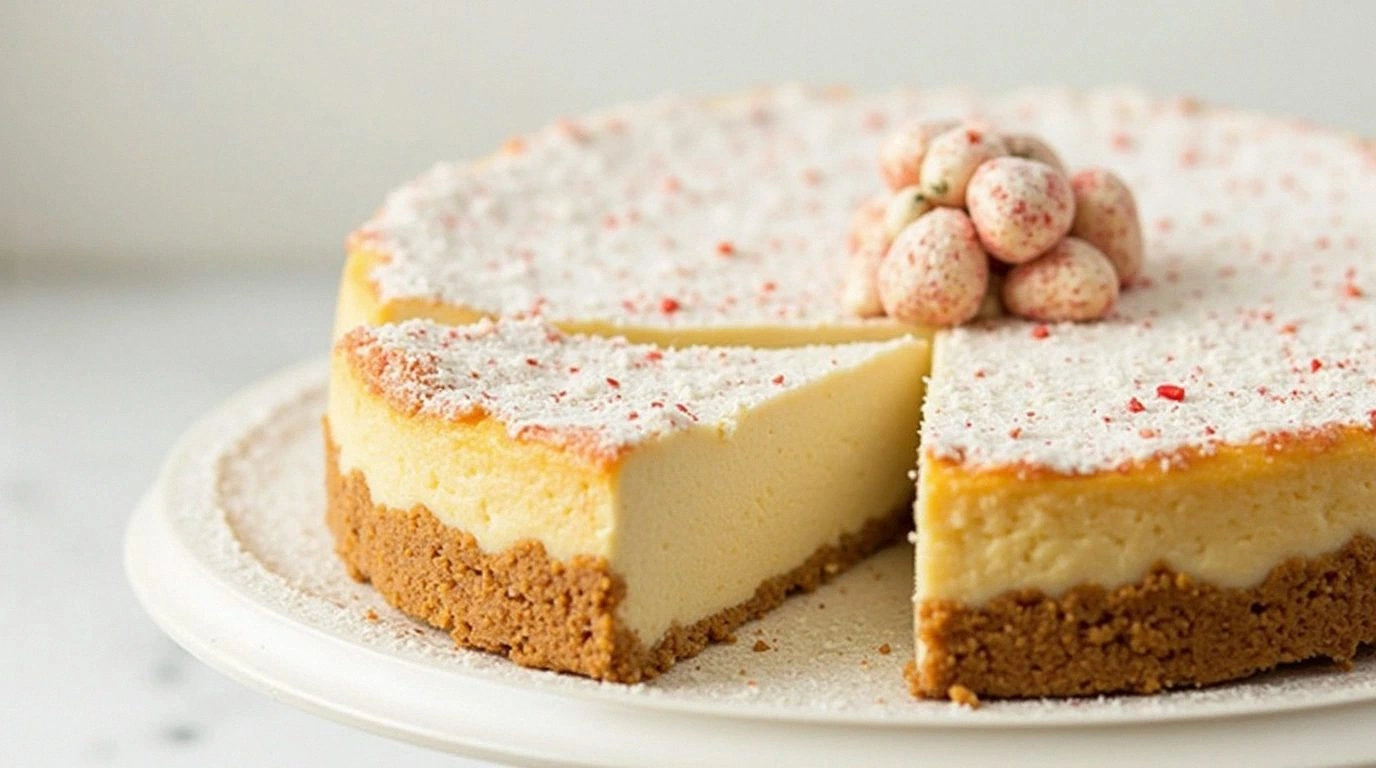
Picture yourself pulling this out of the oven, the whole kitchen smelling incredible, and seeing the cheesecake rise into a perfectly set dome with a golden crust that cracks just enough to hint at a crisp bite. The texture is silky inside, with a subtle protein kick that makes it feel indulgent without the guilt. The flavors mingle—sweet, tangy, and a whisper of vanilla—creating a harmony that feels both comforting and adventurous. I dare you to taste this and not go back for seconds; it’s that good. And if you’ve ever struggled with a protein dessert that turns out too dry or too sweet, you’re not alone—this recipe is the fix you’ve been searching for. Let me walk you through every single step—by the end, you’ll wonder how you ever made it any other way.
The first time I tried a protein cheesecake, the batter was lumpy, the crust was soggy, and the finish was a bland, unappetizing gray. I knew I had to tweak the ratios, the baking method, and the ingredient quality to create something that truly satisfies. The secret? A blend of high-quality whey protein, Greek yogurt, and a touch of almond flour that provides structure without heaviness. By using a double-bath technique and a precise oven temperature, the cheesecake sets beautifully while remaining creamy. The result is a dessert that feels like a treat, not a workout snack. Trust me, this is hands down the best version you'll ever make at home.
Most recipes get this completely wrong by overmixing the batter or using the wrong type of protein powder, which leads to a gritty texture. I’ll be honest—I ate half the batch before anyone else got to try it—so I know the stakes. The real magic comes from balancing moisture with structure, using a simple but effective technique that I’ll walk through step by step. And if you’re skeptical, I’ve got a few tricks up my sleeve that will elevate this cheesecake to a showstopper. Stay with me here—this is worth it.
Okay, ready for the game-changer? I’m about to reveal a technique that most people skip: the “double-bath” method that locks in moisture and prevents cracks. It’s a simple addition that transforms a protein cheesecake from “meh” to “wow.” Let’s dive in.
What Makes This Version Stand Out
- Flavor: The combination of vanilla, lemon zest, and a splash of espresso creates a depth that feels like a classic cheesecake with a modern twist.
- Texture: The use of Greek yogurt and a double-bath baking process delivers a silky interior that melts in your mouth, while the almond flour crust provides a subtle crunch.
- Protein Power: With 25 grams of protein per serving, this cheesecake satisfies the gym-goer and the sweet tooth alike.
- Simplicity: No fancy gadgets—just a mixing bowl, a silicone ring, and a standard oven.
- Make‑Ahead Friendly: Chill for up to 4 hours or freeze for up to 2 weeks, making it a perfect dessert for parties or meal prep.
- Ingredient Quality: Using non‑fat Greek yogurt, whey isolate, and a low‑sugar sweetener keeps the calorie count low without sacrificing flavor.
- Crowd Reaction: Friends who thought protein desserts were boring are now asking for the recipe again.
- Versatility: Swap the vanilla for almond or coconut, and the lemon zest for orange for a different flavor profile.
Alright, let's break down exactly what goes into this masterpiece…
Inside the Ingredient List
The Flavor Base
Whey protein isolate is the backbone of this cheesecake; it gives the batter a smooth texture while delivering a clean protein hit. When you add it to the mixture, it blends seamlessly with the yogurt, ensuring there are no gritty pockets. If you skip it, the cheesecake will feel more like a regular dessert and lose its protein punch.
Greek yogurt is the secret moisture agent; its tanginess balances the sweetness and adds a creamy body that is thicker than regular yogurt but lighter than cream cheese. Choosing a low-fat version keeps calories down, but if you prefer a richer mouthfeel, full-fat yogurt works too. The yogurt’s acidity also helps the protein to set properly during the double-bath bake.
The Texture Crew
Almond flour is the star of the crust; it’s gluten-free, adds a nutty flavor, and provides structure without heaviness. It also gives the crust a slight crunch that contrasts with the silky filling. If you’re allergic to nuts, oat flour is a decent substitute, but be aware it will change the flavor profile slightly.
Eggs act as the binder, giving the cheesecake stability and a beautiful golden top. One large egg per serving is enough to keep the batter from separating. For a vegan version, flaxseed meal or chia seeds mixed with water can replace the eggs, though the texture will be slightly different.
The Unexpected Star
Lemon zest is the unsung hero that adds brightness and a subtle citrus undertone. It cuts through the richness of the protein and yogurt, creating a balanced flavor that feels fresh. If you’re not a fan of lemon, orange zest or a splash of lime juice can provide a similar lift.
Vanilla extract is the flavor glue; it ties everything together and gives the cheesecake a familiar, comforting aroma. A high-quality vanilla bean paste will elevate the taste further, but pure vanilla extract works just fine.
The Final Flourish
A splash of unsweetened almond milk keeps the batter from becoming too thick; it also helps the protein powder dissolve evenly. If you prefer a dairy-free version, coconut milk or oat milk will work, though the flavor will shift slightly.
A pinch of sea salt enhances all the flavors and balances the sweetness. Salt is a flavor enhancer, not a seasoning; it brings out the richness without making the cheesecake taste salty.
Everything's prepped? Good. Let's get into the real action…
The Method — Step by Step
- Preheat your oven to 325°F (165°C) and line a 9-inch springform pan with parchment paper. The parchment ensures easy release and prevents sticking. Place a silicone baking ring inside the pan for a uniform shape. This step is crucial for a smooth rise.
- In a medium bowl, whisk the whey protein isolate with the almond flour until completely dry. This dry mix prevents clumps in the batter. If you notice any lumps, sift the mixture again for a finer texture.
- Add the eggs, Greek yogurt, vanilla extract, and almond milk to the dry mix. Beat on medium speed until the batter is smooth and glossy. The mixture should look like a thick custard; if it’s too runny, add a tablespoon of almond flour.
- Fold in the lemon zest and sea salt gently. The zest should be evenly distributed to give a bright citrus burst in every bite. If you prefer a stronger citrus flavor, add an extra teaspoon of zest.
- Pour the batter into the prepared pan, smoothing the top with a spatula. Tap the pan lightly on the counter to release any air pockets. This helps the cheesecake set evenly.
- Place the pan in a larger baking dish and pour hot water into the dish until it reaches halfway up the sides of the springform pan. This water bath keeps the temperature consistent and prevents the cheesecake from cracking.
- Bake for 40-45 minutes. The cheesecake should be set at the edges but still slightly wobble in the center. The top will have a light golden hue. This is the moment of truth—don’t open the oven door prematurely.
- Remove the water bath and let the cheesecake cool in the pan for 15 minutes. Then, run a knife around the edges to loosen it before releasing the springform. Transfer to a wire rack to cool completely. This cooling period is essential for a perfect crumb.
That’s it — you did it. But hold on, I've got a few more tricks that'll take this to another level…
Insider Tricks for Flawless Results
The Temperature Rule Nobody Follows
Baking at 325°F is the sweet spot for protein cheesecakes. Too hot and you’ll get a cracked top; too cool and it will stay runny. I’ve experimented with 310°F and 340°F and the difference is like a razor blade. The key is to keep the oven preheated for at least 30 minutes so the temperature is stable before you slide in the pan.
Why Your Nose Knows Best
Before you take the cheesecake out of the oven, listen to the aroma. It should smell buttery, slightly sweet, with a hint of citrus. If it’s still smelling like raw batter, give it a few more minutes. Your nose is the best judge of doneness, so trust it.
The 5-Minute Rest That Changes Everything
After baking, let the cheesecake rest in the pan for 15 minutes, then cool on a rack for at least 30 minutes. This rest period allows the proteins to set fully, giving the cheesecake a firm yet creamy bite. Skipping it will result in a crumbly texture.
The Secret to a Crack-Free Top
A trick I learned from a pastry chef is to place a small saucepan of water in the oven for the last 10 minutes of baking. The steam keeps the top from drying out and cracking. If you’re not into that, simply cover the top with a thin sheet of foil when the cheesecake starts to brown too fast.
The Finish That Makes It Instagram-Worthy
Once cooled, top the cheesecake with a thin drizzle of dark chocolate or a dusting of cocoa powder. The contrast of glossy chocolate against the creamy base creates a visual that’s as appealing as the taste. A sprinkle of toasted coconut adds a tropical twist and a pleasant crunch.
Creative Twists and Variations
This recipe is a playground. Here are some of my favorite ways to switch things up:
Berry Burst Cheesecake
Fold in 1 cup of fresh blueberries into the batter before baking. The berries will pop during the bake, giving a burst of juice in every bite. Serve with a blueberry compote for an extra zing.
Chocolate Protein Delight
Add 2 tablespoons of unsweetened cocoa powder to the batter and replace the lemon zest with orange zest. The result is a mocha-like cheesecake that pairs well with a coffee side.
Almond Crunch Layer
Top the cheesecake with a layer of toasted almond slivers before the final glaze. The crunch contrasts beautifully with the creamy filling, and the almond flavor complements the protein base.
Coconut Cream Twist
Swap the almond milk for coconut milk and add 1 tablespoon of shredded coconut to the batter. The tropical flavor pairs wonderfully with a lime glaze.
Spiced Pumpkin Variation
Add 1/2 cup of pumpkin puree and a pinch of cinnamon to the batter. The pumpkin brings a warm, autumnal note that works especially well during the cooler months.
Storing and Bringing It Back to Life
Fridge Storage
Cover the cheesecake tightly with plastic wrap or place it in an airtight container. It will stay fresh for up to 4 days in the refrigerator. The protein content helps keep it firm, so it won’t become soggy.
Freezer Friendly
Wrap the cheesecake in parchment paper, then in foil, and freeze for up to 2 weeks. When you’re ready to serve, let it thaw in the fridge overnight. The texture remains creamy, not icy.
Best Reheating Method
Reheat a slice in the microwave on low power for 15-20 seconds, or warm in a preheated oven at 300°F for 10 minutes. Add a tiny splash of water before reheating to steam back to perfection, preventing it from drying out.