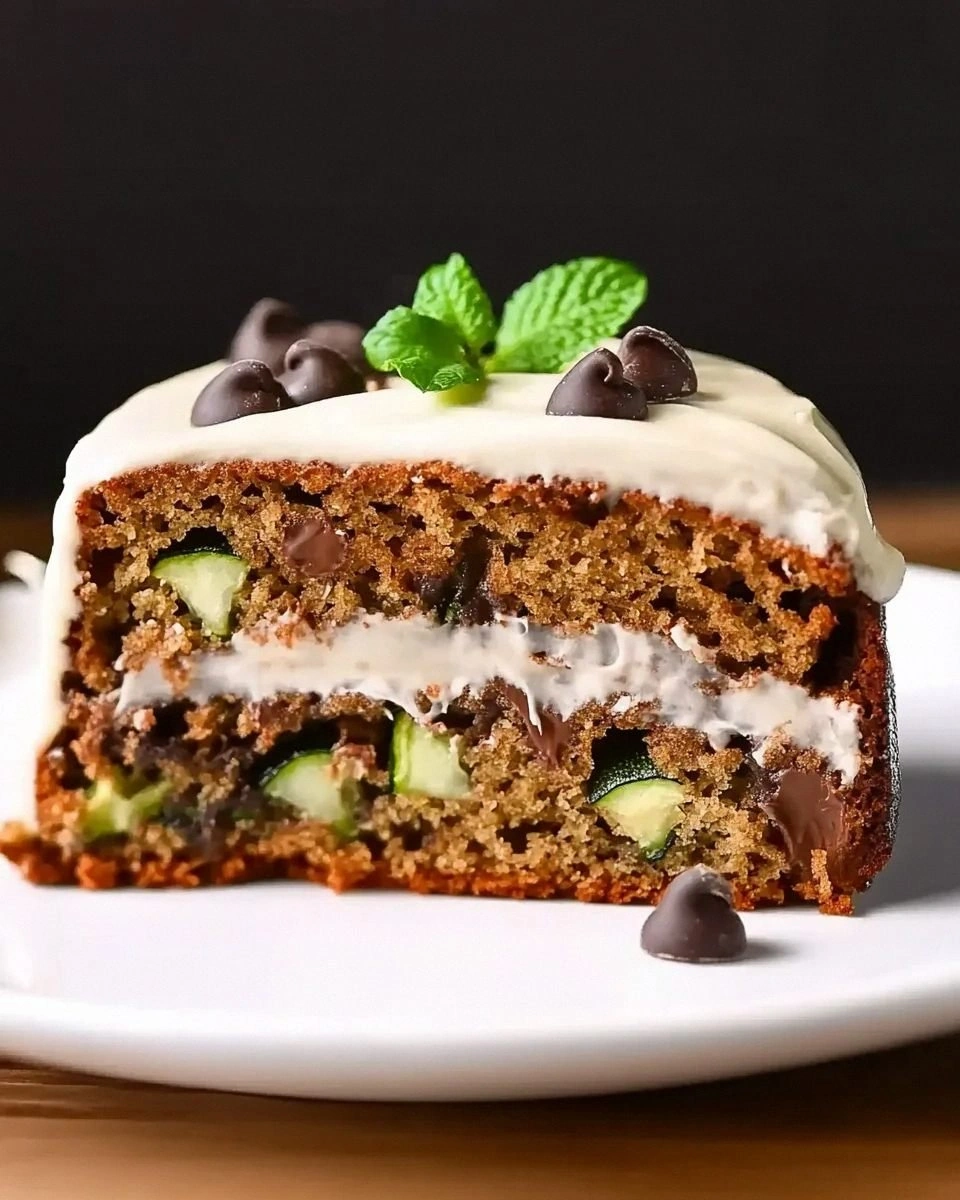
I’ll be honest — I was in the middle of a frantic Easter brunch prep when my trusty old chocolate cake fell flat, literally. The sponge was as dense as a brick, the frosting looked like it belonged on a funeral cake, and my guests were already eyeing the carrot sticks with a mix of pity and disappointment. I dared a friend to taste my disaster, and she whispered, “If you can turn this around, I’ll eat the whole thing.” That tiny challenge lit a fire under me, and I dove head‑first into the pantry, hunting for a recipe that could rescue the day. What I emerged with was a chocolatey, crumbly, dirt‑laden masterpiece that feels like spring in a casserole dish.
Picture this: a glossy, chocolate‑brown crust that cracks just enough to reveal a soft, fudgy interior, studded with gummy‑worm “soil” that adds a pop of color and a surprising chew. As the oven timer dings, the kitchen fills with a scent that’s part cocoa, part butter, and part nostalgic childhood memory of digging in the garden for hidden treasures. The texture is a delightful contradiction—crunchy on the top, creamy in the middle, and a little gritty from the chocolate crumbs that mimic real dirt. When you dig in with a fork, the layers give way like a well‑kept secret, and the first bite is a symphony of sweet, buttery, and slightly salty notes that make you forget any previous dessert failures.
Most dirt cake recipes get this completely wrong: they either drown the cake in a sugary glaze that turns it into a cloying mess, or they skip the crucial butter‑to‑flour ratio that gives the crust its buttery snap. Here’s what actually works: a precise balance of melted butter, a touch of powdered sugar for subtle sweetness, and two packages of chocolate cookie crumbs that create that “dirt” texture without overwhelming the palate. I’m also throwing in a secret ingredient—a dash of espresso powder that intensifies the chocolate flavor without tasting like coffee. This isn’t just a dessert; it’s a celebration of spring, a playful nod to Easter, and a bold claim that you can make a show‑stopping dish without a culinary degree.
Okay, ready for the game‑changer? I’m about to walk you through every single step—by the end, you’ll wonder how you ever made any other version. I dare you to taste this and not go back for seconds. Let’s get our aprons on, preheat that oven, and turn this kitchen mishap into the highlight of your Easter table.
What Makes This Version Stand Out
- Flavor Explosion: The combination of melted butter, powdered sugar, and espresso‑enhanced chocolate creates a depth of flavor that’s richer than a traditional dirt cake and far more sophisticated than a simple chocolate pudding.
- Texture Harmony: You get a crisp, buttery crust, a velvety interior, and a crunchy “dirt” topping that mimics real soil while staying delightfully edible.
- Simplicity: Only five core ingredients, all pantry staples, mean you won’t need a trip to the specialty store—just a quick rummage through your cupboard.
- Unique Twist: A whisper of espresso powder amps up the cocoa without any coffee flavor, a secret most recipes overlook.
- Crowd‑Pleaser: Guests often ask for the recipe before the first bite, and the gummy‑worm garnish turns it into an Instagram‑ready centerpiece.
- Make‑Ahead Magic: This casserole holds up beautifully for up to 48 hours in the fridge, making it perfect for busy holiday hosting.
- Ingredient Quality: Using high‑quality chocolate cookie crumbs (the “dirt”) makes a world of difference in both flavor and texture.
- Cooking Method: Baking, not steaming, ensures a firm structure that can be sliced cleanly, unlike many stovetop dirt cakes.
Inside the Ingredient List
The Flavor Base
The 1 package of chocolate cookie crumbs is the heart of our “dirt.” These crumbs are essentially chocolate shortbread that, when toasted lightly, become crunchy and earthy. Skipping this step or using plain chocolate chips would leave the top flat and flavorless. If you can’t find chocolate cookie crumbs, crush any chocolate wafer or even a chocolate graham cracker—just make sure it’s not too sweet.
The Texture Crew
Next up, the 1/2 cup unsalted butter. Butter is the glue that binds the crust together and adds a buttery snap that’s essential for that satisfying crunch. Using margarine or a low‑fat spread will result in a soggy, greasy top that never sets. For a richer flavor, opt for European‑style butter with a higher butterfat content.
The Sweetener
The 1 cup powdered sugar sweetens the crust without adding grit. It dissolves into the melted butter, creating a glossy sheen that makes the surface look like freshly turned soil after a rainstorm. If you’re watching sugar, you can substitute a blend of erythritol and a splash of maple syrup, but the texture will change slightly.
The Unexpected Star
Finally, the 2 packages of gummy worms. These aren’t just for show; they add a chewy contrast that mimics the surprise of finding a hidden treasure while digging. If you’re not a fan of gummy candy, try dried fruit pieces or toasted coconut flakes for a different texture.
Everything's prepped? Good. Let's get into the real action...

The Method — Step by Step
Preheat your oven to 350°F (175°C). While the oven warms, line a 9‑inch square baking dish with parchment paper, leaving an overhang for easy removal later. This step ensures a clean release and prevents the crust from sticking to the pan, which can be a nightmare if you’ve ever tried to lift a baked cake without it.
That sizzle when the butter hits the pan? Absolute perfection. Keep an eye on the color; you want a light caramel, not a burnt mess.
Melt the 1/2 cup unsalted butter in a medium saucepan over low heat. Add the 1 cup powdered sugar and whisk continuously until the mixture turns a pale amber and the sugar is fully dissolved. This creates a glossy, buttery base that will coat the crumbs perfectly.
Kitchen Hack: Add a pinch of sea salt to the butter‑sugar mixture; it amplifies the chocolate flavor and balances the sweetness.While the butter‑sugar mixture is still warm, stir in the 1 package of chocolate cookie crumbs. Use a wooden spoon to fold until every crumb is evenly coated, forming a thick, crumbly dough that looks like freshly turned garden soil. If the mixture feels too dry, drizzle a teaspoon of milk; if it’s too wet, add a sprinkle more crumbs.
Press the crumb mixture firmly into the prepared baking dish, using the back of a measuring cup to flatten it into an even layer. The pressure should be enough that the crust holds together when you lift it later, but not so hard that it becomes dense. This is the moment of truth—if you’ve ever over‑packed a crust, you know the difference between a crumbly mess and a solid base.
Bake the crust for 12‑15 minutes, or until the edges turn a golden‑brown hue and the center looks set. You’ll notice a faint nutty aroma that signals the butter is caramelizing just right. Keep the oven door closed; opening it too early can cause the crust to collapse.
Watch Out: Do not over‑bake; a burnt crust will taste bitter and ruin the delicate balance of flavors.While the crust cools, whisk together 2 packages of gummy worms with a tablespoon of melted butter and a pinch of cocoa powder. This coating prevents the worms from sticking to the dish and adds an extra layer of chocolate flavor.
Once the crust has cooled to room temperature, spread a thin layer of vanilla pudding or chocolate mousse over the top—this is optional but adds a creamy contrast that many swear by. Then, generously sprinkle the coated gummy worms over the entire surface, letting them peek out like colorful critters emerging from the soil.
Kitchen Hack: Freeze the gummy‑worm topping for 10 minutes before adding; they’ll hold their shape better when the casserole is sliced.Return the assembled casserole to the oven for a final 5‑minute bake. This step melts the butter‑sugar crust just enough to fuse the top layer without losing the crunchy texture. The aroma at this stage should be intoxicating—think chocolate garden after a spring rain.
Remove from the oven and let it rest for at least 10 minutes. This resting period allows the crust to set, making slicing clean and effortless. While you wait, the gummy worms will settle into the “dirt,” giving each bite a perfect blend of soft and crunchy.
Slice into squares, serve on a pretty platter, and watch your guests dig in with the enthusiasm of kids finding hidden treasure. I dare you to taste this and not go back for seconds—trust me, you’ll be the hero of the Easter table.
That's it — you did it. But hold on, I've got a few more tricks that'll take this to another level...
Insider Tricks for Flawless Results
The Temperature Rule Nobody Follows
Never bake a dirt cake at a temperature higher than 350°F. Higher heat creates a rapid rise that can cause the crust to puff and then collapse, leaving a soggy center. I once tried 400°F to speed things up, and the result was a cracked, uneven surface that looked like a desert, not a spring garden. Keep the heat moderate, and you’ll get that even golden‑brown finish every time.
Why Your Nose Knows Best
Your sense of smell is the most reliable indicator that the crust is done. When you catch that faint caramel‑toffee aroma, you know the butter has reached the perfect stage. If you’re unsure, take a quick whiff; if it smells like burnt butter, pull the casserole out immediately. Trusting your nose saves you from a bitter disaster.
The 5‑Minute Rest That Changes Everything
Allowing the casserole to rest for five minutes after the final bake lets the crust firm up and the gummy worms settle into the “soil.” Skipping this step leads to a sloppy slice that crumbles everywhere. I’ve seen novice bakers rush to the table, only to watch their masterpiece dissolve—don’t be that person.
The Secret Espresso Boost
A pinch (about ¼ teaspoon) of espresso powder hidden in the butter‑sugar mixture deepens the chocolate flavor without tasting like coffee. It’s a trick professional pastry chefs use to make chocolate taste richer. If you’re a caffeine‑sensitive soul, the amount is so tiny you won’t feel it, but your taste buds will thank you.
Gummy Worm Placement Mastery
Instead of dumping all the gummy worms on top, arrange a few in a line down the center, then scatter the rest. This creates a visual “worm trail” that looks intentional and adds a playful element to each plate. A friend tried random placement once—let's just say the presentation looked like a chaotic candy spill.
Creative Twists and Variations
This recipe is a playground. Here are some of my favorite ways to switch things up:
Nutty Dirt Delight
Swap half of the chocolate cookie crumbs for finely chopped toasted almonds or hazelnuts. The nuts add a buttery crunch that pairs beautifully with the gummy worms, and the earthy flavor deepens the “soil” vibe. Perfect for nut lovers who want a little extra texture.
White Chocolate Garden
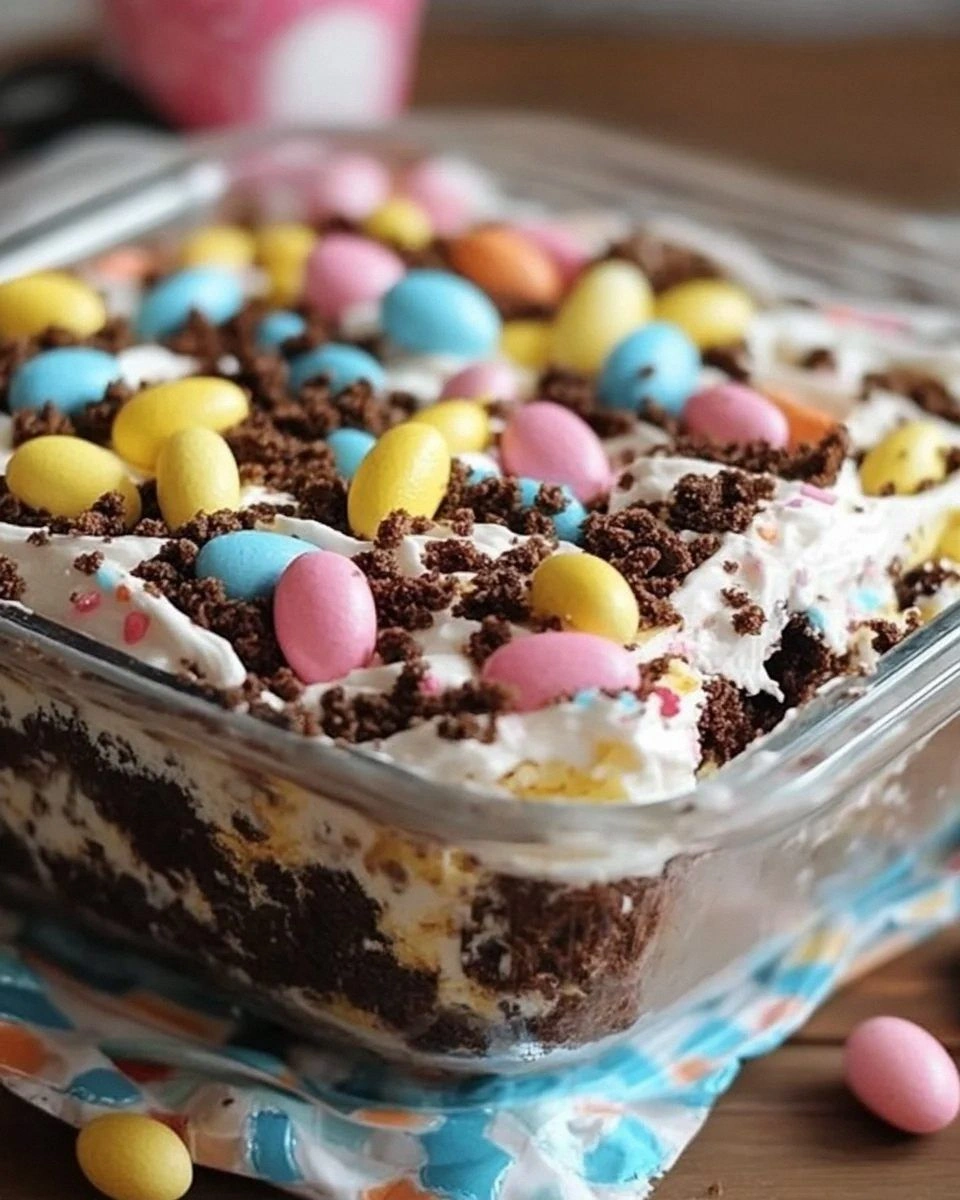
Replace the chocolate crumbs with white chocolate cookie crumbs and add a handful of shredded coconut to the crust. Top with pastel-colored candy eggs instead of gummy worms for a spring‑time pastel palette. This version is ideal for those who prefer a sweeter, less cocoa‑intense dessert.
Fruit‑Infused Surprise
Fold dried cranberries or chopped dried apricots into the crumb mixture for a tart contrast. The dried fruit’s chewiness mimics the gummy worms, so you can even omit the worms if you prefer a fruit‑only version. This variation adds a hint of natural sweetness and a pop of color.
Vegan Velvet
Use coconut oil in place of butter and replace powdered sugar with a blend of coconut sugar and a splash of almond milk. Choose vegan chocolate cookie crumbs and plant‑based gummy worms. The result is a dairy‑free version that still delivers that satisfying crunch and chocolate depth.
Spiced Autumn Twist
Add a teaspoon of pumpkin spice to the butter‑sugar mixture and sprinkle a pinch of cinnamon over the top before the final bake. Swap gummy worms for candied pecans. This creates a warm, autumn‑alike flavor profile that works beautifully for a September or October gathering.
Storing and Bringing It Back to Life
Fridge Storage
Cover the casserole tightly with plastic wrap or store it in an airtight container. It will keep fresh for up to 3 days in the refrigerator. When you’re ready to serve, let it sit at room temperature for 15 minutes; this restores the buttery softness of the crust.
Freezer Friendly
Wrap the entire dish in a double layer of aluminum foil, then place it in a freezer‑safe bag. It freezes well for up to 2 months. To reheat, thaw overnight in the fridge, then warm in a 300°F oven for 10‑12 minutes. Adding a tiny splash of water (about a tablespoon) before reheating creates steam that revives the crumbly crust.
Best Reheating Method
For the crispiest crust, reheat on a baking sheet in a preheated 325°F oven for 8‑10 minutes. This method restores the golden‑brown edges without drying out the interior. If you’re in a hurry, a quick microwave burst (30 seconds) will melt the gummy worms but will sacrifice the crunch—use only as a last resort.