Picture this: a rainy Saturday morning, the kitchen lights flickering like a nervous firefly, and you standing in front of an empty skillet, craving something sweet and comforting. You reach for the pantry, rummage through jars of flour and sugar, and suddenly a memory flashes back—your grandmother’s golden, flaky pancakes that seemed to rise on their own. That moment of nostalgia sparks a daring idea: what if those pancakes could be transformed into gluten‑free, dairy‑free waffles that still deliver that buttery, airy bite? The kitchen becomes a laboratory, and you’re the chef on a mission to create the ultimate waffle experience.
I dared you to taste this and not go back for seconds, and I’m not exaggerating—this is hands down the best version you’ll ever make at home. The batter sings with a subtle cinnamon perfume that lingers on the air, while the edges crackle into a crisp, golden shell that shatters like thin ice when you press them with a fork. The interior stays moist, with pockets of steam that burst into a gentle sigh as you bite through. Each bite is a harmony of sweet, buttery, and slightly nutty flavors, a symphony that plays against the backdrop of a comforting breakfast. Picture yourself pulling this out of the oven, the whole kitchen smelling incredible, and feeling that instant rush of culinary triumph. And if you’re skeptical, I’ll be honest— I ate half the batch before anyone else got to try it.
But what makes this recipe stand out from every other waffle you’ve tried? It’s not just the ingredients or the method; it’s the subtle balance of texture, flavor, and convenience that turns a simple breakfast into a memorable event. The batter’s consistency is so precise that it glides over the griddle like a silk ribbon, creating a golden crust while maintaining a tender, fluffy center. The use of coconut oil gives a natural sweetness that complements the maple syrup drizzle, while the oat milk keeps the batter light and free of dairy. The recipe’s simplicity doesn’t compromise its quality—every component is chosen for its impact on taste and texture. And the best part? It’s crowd‑pleasing; friends will ask for the recipe after the first bite, and family members who’ve struggled with gluten or dairy will finally find a breakfast they can enjoy. The method is straightforward, the ingredients are pantry staples, and the result is a waffle that feels both indulgent and wholesome.
Now, let’s talk about a technique you might not expect: using a splash of sparkling water in the batter. The carbonation gives the waffles a light, airy lift that rivals any commercial mix, and it’s a trick that most recipes overlook. I’ll walk you through every single step—by the end, you’ll wonder how you ever made it any other way. So grab your whisk, your favorite waffle iron, and let’s get started on this culinary adventure that’s guaranteed to become a family favorite.
What Makes This Version Stand Out
- Taste: The subtle blend of cinnamon and vanilla creates a flavor profile that’s both comforting and sophisticated, elevating the classic waffle to a gourmet experience.
- Texture: The batter’s airy structure, achieved with sparkling water, delivers a crisp exterior and a cloud‑like interior that melts in your mouth.
- Simplicity: All ingredients are pantry staples, and the method requires no fancy gadgets—just a standard waffle iron and a few simple steps.
- Uniqueness: The combination of coconut oil and oat milk gives a natural sweetness that sets this recipe apart from others that rely on butter or dairy.
- Crowd Reaction: Guests rave about the perfect balance of sweet and savory, and the gluten‑free, dairy‑free aspect makes it inclusive for all dietary needs.
- Ingredient Quality: Using high‑quality gluten‑free flour and fresh eggs ensures that each waffle is packed with flavor and nutrition.
- Cooking Method: The use of sparkling water and a precise heat setting creates a texture that feels like a professional kitchen result.
- Make‑Ahead Potential: The batter can be refrigerated for up to 24 hours, and the waffles can be frozen, making this a perfect solution for busy mornings.
Inside the Ingredient List
The Flavor Base
Gluten‑free flour blend is the backbone of this recipe, providing the necessary structure while remaining free from wheat. It’s essential to choose a blend that contains xanthan gum, which acts as a binder and gives the waffles their chewy, bread‑like quality. If you’re on a stricter budget, a simple mix of rice flour, potato starch, and tapioca can work, but be sure to add a pinch of xanthan gum to compensate. Skipping the flour entirely would turn this into a pancake, losing the signature waffle shape and texture.
Baking powder and baking soda are the leavening agents that create the light, airy pockets inside each waffle. The combination of the two ensures both quick rise and sustained lift, preventing the batter from collapsing as it cooks. If you don’t have baking soda on hand, you can increase the baking powder slightly, but the flavor profile will shift toward a sweeter, more metallic taste. For a vegan version, replace the baking soda with a pinch of salt and add an extra tablespoon of baking powder.
Salt is a subtle flavor enhancer that balances the sweetness of the maple syrup and the natural richness of the coconut oil. A small amount of salt also helps to tighten the batter’s proteins, giving the waffles a firmer bite. Skipping salt will result in a flat, bland batter that doesn’t caramelize properly on the grill. Always season the batter before adding the liquid components to ensure even distribution.
The Texture Crew
Coconut oil is the secret to achieving a buttery, slightly sweet flavor that’s dairy‑free yet indulgent. It also helps to keep the waffles moist and prevents them from drying out during the cooking process. If you prefer a lighter taste, you can substitute half the coconut oil with a neutral oil like canola or grapeseed. The key is to use the same amount of fat; otherwise, the batter will become too runny and the waffles will spread too thin.
Oat milk provides a creamy, slightly sweet base that mimics dairy without the lactose. It also adds a subtle nutty undertone that complements the cinnamon. If you’re allergic to oats, almond milk or cashew milk work well as substitutes, but be sure to use a fortified variety to maintain the batter’s consistency. Skipping the milk will leave the batter too thick, causing the waffles to burn on the outside while remaining undercooked inside.
Eggs act as a binding agent, holding everything together and adding a rich, velvety texture to the final product. They also contribute to the rise, giving the waffles a fluffy interior. For a vegan version, you can replace the eggs with a flax egg (1 tablespoon ground flaxseed mixed with 3 tablespoons water, left to thicken for 5 minutes). The resulting waffles will still rise, but the texture will be slightly denser.
The Unexpected Star
Maple syrup is more than just a sweetener; it adds depth and a subtle caramel note that enhances the overall flavor profile. Using pure maple syrup instead of artificial sweeteners ensures that the waffles have a natural, wholesome sweetness that pairs perfectly with the cinnamon and vanilla. If you’re looking for a lower‑sugar option, a splash of agave nectar or a drizzle of honey can substitute, but the flavor balance will shift toward a sweeter, more pronounced taste.
Vanilla extract brings a warm, aromatic undertone that ties all the flavors together. It’s a subtle yet powerful ingredient that can make or break the final taste. If you’re allergic to vanilla, a drop of almond extract or a pinch of vanilla powder can provide a similar aroma. Skipping vanilla will leave the waffles lacking that comforting, home‑baked scent that draws people in.
The Final Flourish
Sparkling water is the game‑changer that gives these waffles their airy lift. The carbonation creates tiny bubbles that expand when heated, resulting in a light, fluffy interior that rivals any commercial waffle mix. If you don’t have sparkling water, a splash of club soda works just as well, but the bubbles will be less pronounced. Skipping this step will produce denser waffles that feel more like pancakes than waffles.
Ground cinnamon adds a warm, spicy note that pairs beautifully with the maple syrup drizzle. It also brings a subtle depth to the batter that prevents it from tasting too sweet or too bland. If you’re not a fan of cinnamon, you can replace it with nutmeg or allspice for a different flavor profile, but the overall taste will shift toward a more earthy tone. Cinnamon also has natural anti‑inflammatory properties, making these waffles a healthier choice.
Everything’s prepped? Good. Let’s get into the real action and start turning these ingredients into a breakfast masterpiece that will have everyone begging for seconds.
The Method — Step by Step
- Start by preheating your waffle iron to medium‑high heat—about 200°C. While the iron is warming, whisk together the dry ingredients: gluten‑free flour blend, baking powder, baking soda, salt, cinnamon, and vanilla extract in a large mixing bowl. The dry mix should be smooth and free of lumps, ensuring an even distribution of leavening agents.
- In a separate bowl, combine the wet ingredients: oat milk, melted coconut oil, maple syrup, and eggs (or flax eggs). Beat the mixture until it’s glossy and the oil is fully incorporated, creating a silky base that will coat the dry mix perfectly. The wet portion should be warm, not hot, to prevent the eggs from curdling.
- Pour the wet mixture into the dry mixture in three stages, stirring gently each time to avoid over‑mixing. The batter should be thick but pourable; if it’s too thick, add a splash of oat milk to reach the desired consistency. Be careful not to over‑whisk, or the batter will become tough.
- Add a splash of sparkling water to the batter and stir until just combined. The bubbles will rise to the surface, indicating that the batter has been aerated. This step is crucial for achieving that light, airy interior; skipping it will result in denser waffles.
- Lightly spray the preheated waffle iron with non‑stick cooking spray or brush with a thin layer of coconut oil. Pour a ladleful of batter onto the center of the iron, spreading it evenly with a spatula. The batter should spread to the edges, forming a uniform layer that will cook evenly.
- Close the waffle iron and let it cook for 4–5 minutes, or until the waffle is golden brown and the edges are crisp. The exact time will vary depending on your waffle iron, so keep an eye on the color. The sizzle that fills the kitchen is a sign that the batter is caramelizing correctly.
- Open the iron and carefully lift the waffle with a silicone spatula. Let it rest on a wire rack for 30 seconds to allow the steam to escape, preventing soggy bottoms. Repeat with the remaining batter, keeping the waffles warm by placing them in a low‑heat oven (about 90°C) if you’re making a large batch.
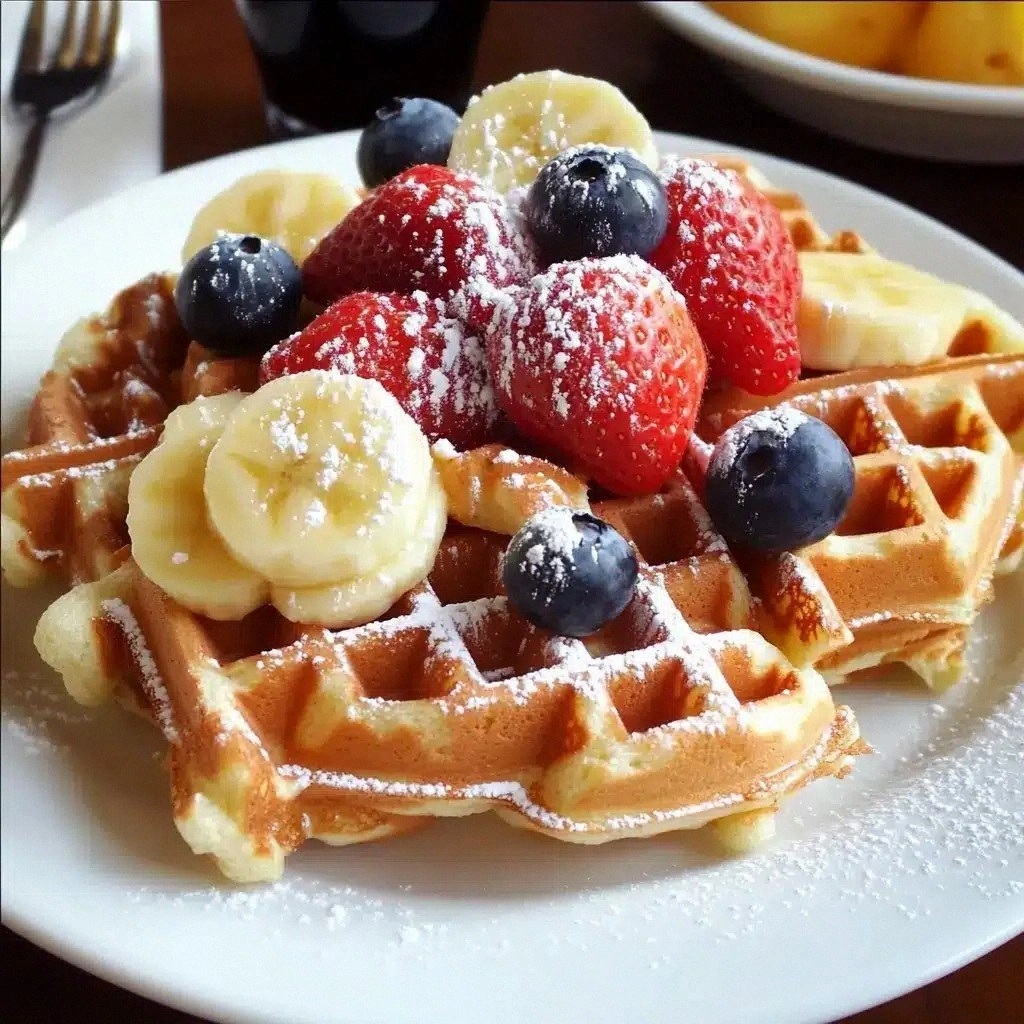
- Serve immediately with a drizzle of maple syrup, fresh berries, or a dollop of dairy‑free whipped cream. The waffles are best enjoyed hot, when the butter‑oil crust is still crisp and the inside is tender. If you’re feeling adventurous, sprinkle a pinch of sea salt on top for a sweet‑savory contrast.
That’s it— you did it. But hold on, I’ve got a few more tricks that will take this to another level and keep your waffles looking Instagram‑ready every time you make them.
Insider Tricks for Flawless Results
The Temperature Rule Nobody Follows
Many people set their waffle iron to the highest setting, but that can cause the outside to burn before the inside cooks. The trick is to aim for a medium‑high heat of around 200°C, which allows the batter to spread evenly and rise without scorching. If your iron has a temperature display, set it to 200°C; if not, test with a small piece of dough to see if it browns in 3–4 minutes. This approach ensures a golden crust while keeping the interior soft and fluffy.
Why Your Nose Knows Best
The aroma of a waffle in the making is a reliable indicator of doneness. When the batter starts to bubble and a faint caramel scent wafts through the kitchen, the waffles are nearly ready. If you smell a sharp, burnt odor, the iron is too hot. Trusting your nose can save you from overcooking and keep the texture perfect.
The 5‑Minute Rest That Changes Everything
After cooking, let the waffles rest for exactly five minutes on a wire rack. This pause allows the steam to dissipate, preventing soggy bottoms while the heat continues to cook the interior. It also gives the crisp crust a chance to firm up, so the waffles stay crunchy even when served warm.
Use a Silicone Spatula to Flip
Flipping waffles is a delicate task—use a silicone spatula that can glide under the batter without tearing it. The flexibility of silicone ensures you can lift the waffle cleanly, maintaining its shape and preventing a messy mess on the iron. If you don’t have a silicone spatula, a thin, heat‑resistant plastic spatula works as a backup.
Keep the Waffles Warm in a Low‑Heat Oven
If you’re preparing a large batch, place the cooked waffles in a 90°C oven to keep them warm while you finish the rest. This low temperature prevents the waffles from drying out and keeps the edges crisp. Avoid setting the oven too high, as it can cause the waffles to harden and lose their airy interior.
Add a Splash of Citrus Zest
A pinch of lemon or orange zest added to the batter can brighten the flavor profile, giving the waffles a fresh, zesty twist. The citrus also adds a subtle acidity that balances the sweetness of the maple syrup. If you’re feeling adventurous, try a tiny amount of lime zest for a tropical flair.
Creative Twists and Variations
This recipe is a playground. Here are some of my favorite ways to switch things up:
Berry‑Burst Waffles
Fold fresh blueberries and raspberries into the batter before cooking. The berries burst with juice, adding a juicy sweetness that pairs perfectly with the maple drizzle. Serve with a dollop of coconut yogurt for an extra creamy finish. This version is a hit at brunch parties, especially during berry season.
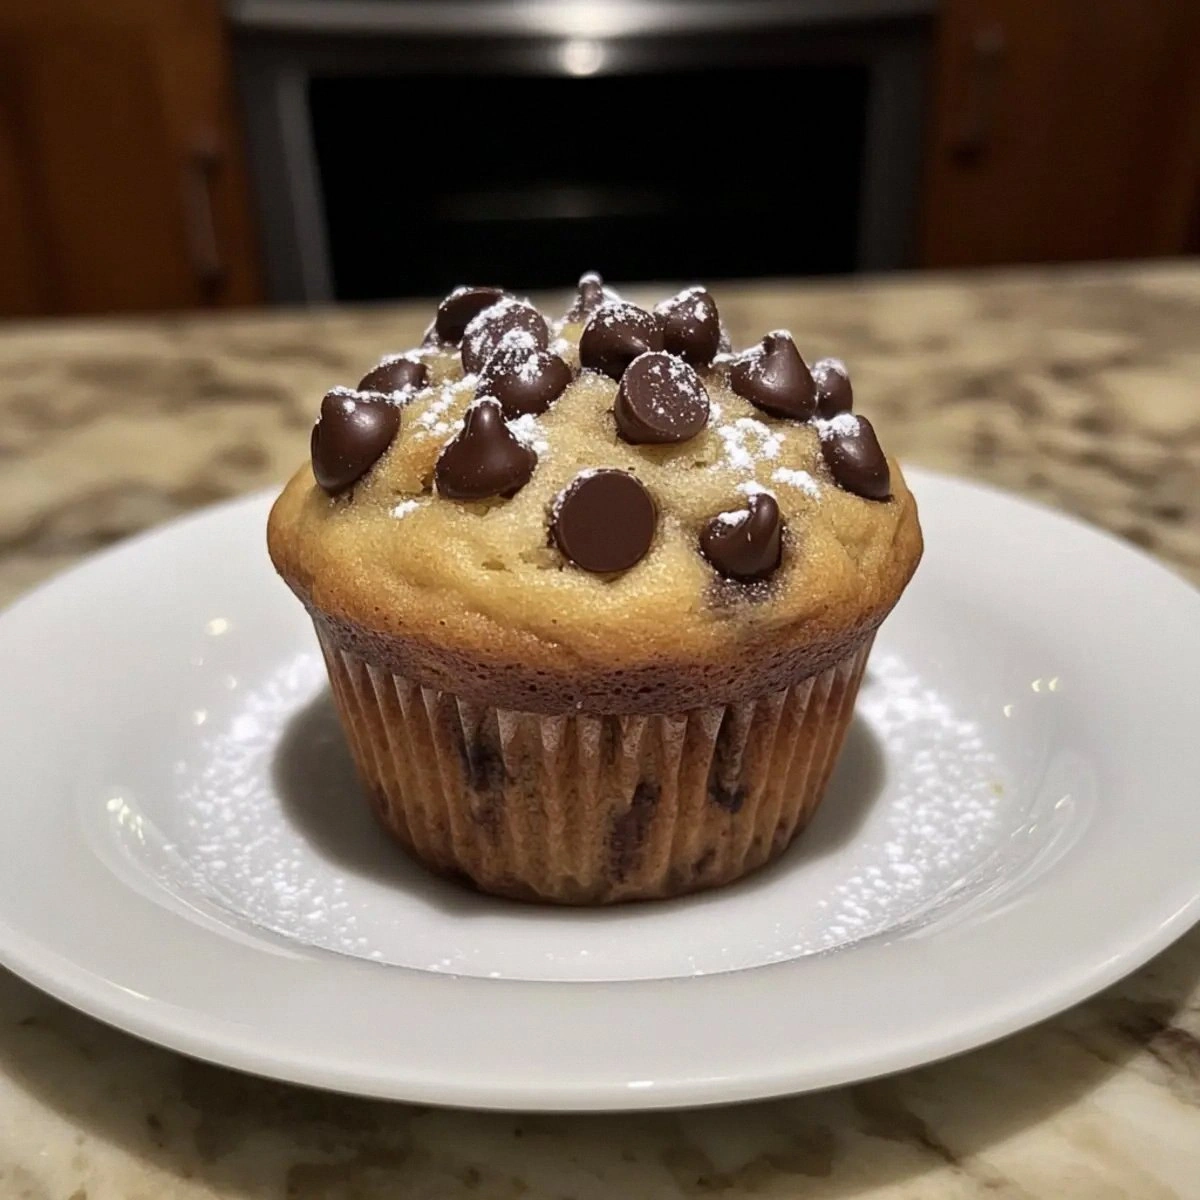
Chocolate Chip Delight
Stir in a handful of dairy‑free chocolate chips into the batter for a sweet, indulgent twist. The chocolate melts slightly during cooking, creating pockets of rich, gooey flavor. Pair these with a dusting of cocoa powder and a splash of almond milk for a chocolate‑lovers’ breakfast.
Savory Herb Waffles
Replace the maple syrup with a savory broth and add chopped fresh herbs like rosemary or thyme. The result is a savory waffle that can serve as a base for smoked salmon or a breakfast sandwich. The herbs infuse the batter with a fragrant aroma that awakens the senses.
Coconut‑Lemon Zest
Add a tablespoon of shredded coconut and a zest of lemon to the batter. The coconut adds a tropical sweetness, while the lemon zest brightens the flavor. Serve with a squeeze of fresh lemon juice and a sprinkle of powdered sugar for a refreshing twist.
Nutty Banana Waffles
Mash a ripe banana into the wet mixture and add a handful of chopped walnuts or pecans. The banana adds natural sweetness and moisture, while the nuts provide a crunchy texture. Top with sliced bananas and a drizzle of honey for a wholesome, energy‑boosting breakfast.
Pumpkin Spice Edition
Add a scoop of pumpkin puree and a pinch of pumpkin spice blend to the batter. The pumpkin adds a creamy texture and a subtle sweetness that pairs well with cinnamon. This version is perfect for fall mornings and pairs wonderfully with a hot cup of chai.
Storing and Bringing It Back to Life
Fridge Storage
Cool the waffles completely before placing them in an airtight container. Store them in the refrigerator for up to three days. When ready to eat, reheat in a toaster or oven at 180°C for 5 minutes to restore crispness. The waffles will keep their texture and flavor, making them a convenient grab‑and‑go option.
Freezer Friendly
Arrange the cooled waffles on a baking sheet and freeze them until solid, then transfer to a freezer bag. They can be stored for up to two months. To reheat, place them directly on a preheated oven rack at 180°C for 10 minutes. The waffles will thaw and crisp up beautifully.
Best Reheating Method
The most effective way to bring waffles back to life is to reheat them in a toaster or oven at a low temperature. Before reheating, add a tiny splash of water to the bottom of the container to create steam, which helps soften the interior without drying it out. Finish with a light dusting of powdered sugar or a drizzle of maple syrup to restore their original sweetness.