I was scrolling through my phone at 3 a.m., scrolling past endless dessert videos, when the kitchen lights flickered and the air smelled faintly of burnt sugar. I had just attempted a batch of chocolate truffles that collapsed into a soggy mess, and the only thing that could salvage the night was a dare from a friend who swore, “If you can’t make a pink coconut snowball cake bar that melts on the tongue, you’re not a baker.” That night, I pulled out the pantry, the fridge, and a handful of shortbread cookies, and I decided to turn that dare into a culinary triumph. Picture yourself pulling this out of the fridge, the whole kitchen smelling like toasted coconut and sweet butter, and the first bite sending a burst of pink velvet into your mouth. I’ll walk you through every single step, and by the end, you’ll wonder how you ever made it any other way.
The first time I tried this recipe, the mixture looked like a glossy, pink pudding that clung to my spoon like a stubborn gum. The sound of the mini marshmallows melting was a soft hiss, a whisper of sweetness that promised something extraordinary. When I pressed the mixture into the pan, the edges curled just enough to give a hint of crunch, but the center stayed delightfully gooey, like a miniature snowball that refuses to melt. That was the moment I knew I had stumbled upon something special. I dare you to taste this and not go back for seconds.
I’ve spent years testing countless no-bake bars, and most of them either fall apart or taste like cardboard. The secret to this recipe is that it balances the buttery crunch of shortbread with the airy softness of marshmallows, all while the coconut adds a tropical whisper that keeps the bars from feeling too heavy. The pink hue is not just a visual treat; the color enhances the perception of sweetness, making each bite feel lighter than it actually is. If you’ve ever struggled with a no-bake dessert that feels “off,” you’re not alone — and I’ve got the fix.
This version is hands down the best you’ll ever make at home because it eliminates the need for a double boiler and still delivers a melt-in-your-mouth experience. The technique of heating the butter and marshmallows together until they form a silky sauce is pure magic, and the quick addition of crushed shortbread keeps the bars firm enough to slice cleanly. The result is a bar that’s as satisfying to chew as it is to look at, with a glossy pink sheen that looks like a piece of candy art. Stay with me here — this is worth it.
What Makes This Version Stand Out
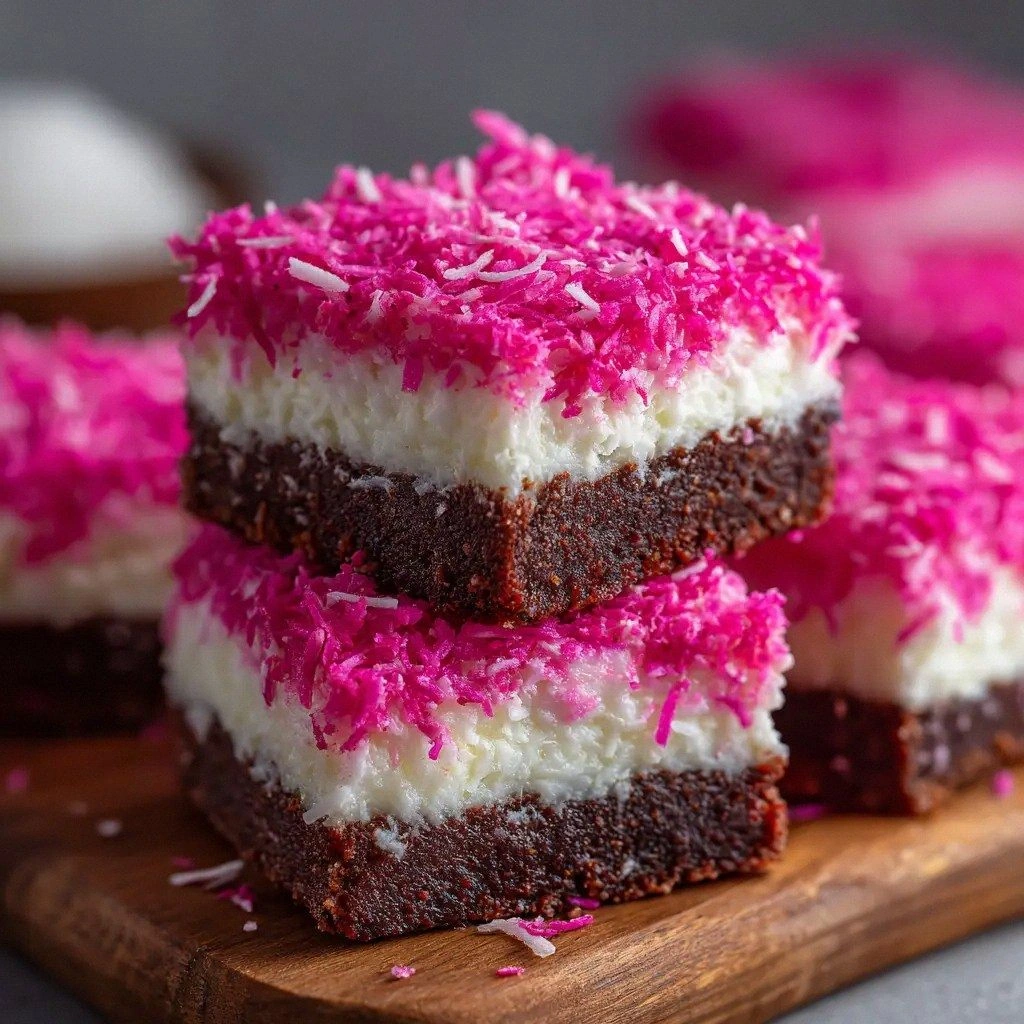
- Texture: The bars combine a crisp shortbread base with a chewy marshmallow center, creating a contrast that feels like biting into a cloud wrapped in a cookie. The coconut adds a subtle crunch that prevents the bars from becoming too soft.
- Flavor: Sweet, buttery, and tropical, the flavor profile is balanced with the bright pop of pink that makes every bite feel festive. The marshmallows mellow the coconut’s natural nuttiness, while the shortbread anchors the sweetness.
- Ease: No oven, no complicated steps—just a few ingredients and a saucepan. This makes it ideal for busy weeknights or last-minute dessert needs.
- Make‑ahead: The bars freeze well, and you can prep them a week in advance, letting the flavors meld while saving you time on the day of the event.
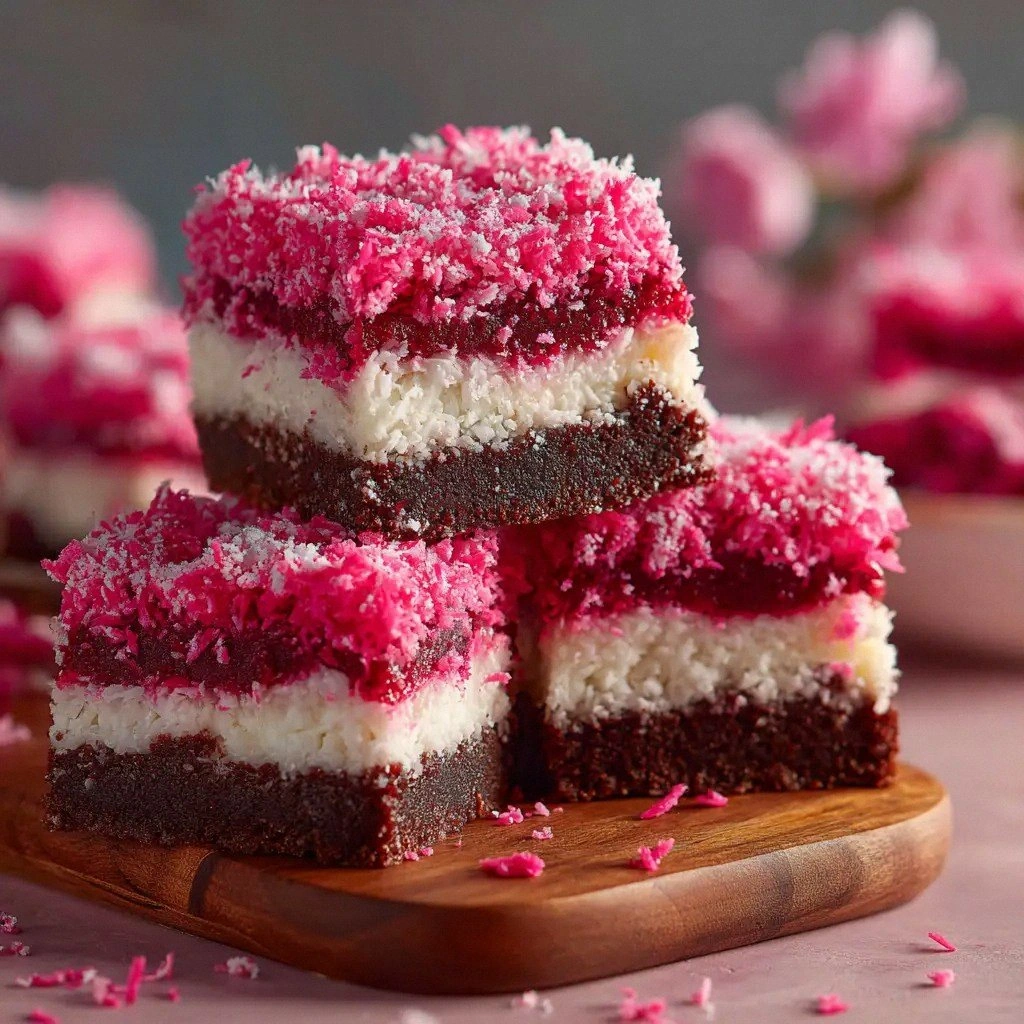
- Visual Appeal: The glossy pink finish looks like a piece of cake art, making it a showstopper for parties, brunches, or a simple sweet treat for the family.
- Ingredient Quality: Using high‑quality shortbread cookies and real coconut ensures that the final product feels premium rather than mass‑produced.
- Scalability: The recipe scales up or down without compromising texture or flavor, making it perfect for a small gathering or a large celebration.
- Unique Twist: The addition of pink or red food coloring is more than a cosmetic tweak—it activates the sweet‑sweetness perception, making each bite feel lighter.
Inside the Ingredient List
The Flavor Base
Crushed shortbread cookies provide the buttery backbone of the bars. Their subtle saltiness balances the sweetness of the marshmallows and coconut. If you’re looking for a different flavor profile, try substituting the shortbread with crushed vanilla wafers or even a pinch of espresso powder for a mocha twist. The shortbread must be finely crushed; if the pieces are too large, they will create uneven texture.
The Texture Crew
Unsalted butter melts into the marshmallows, creating a silky sauce that coats the shortbread crumbs. The 10 oz bag of mini marshmallows is the star of the show; they soften and expand, giving the bars a chewy center that feels like a snowball. If you’re a fan of a firmer bite, use a smaller bag of marshmallows or reduce the amount of butter slightly. The butter’s fat content is crucial—it keeps the mixture from becoming too watery.
The Unexpected Star
Sweetened shredded coconut adds a tropical whisper and a hint of crunch that keeps the bars from feeling too dense. Coconut also brings a subtle nutty flavor that pairs beautifully with the butter and marshmallows. If you prefer a dairy-free version, use coconut oil instead of butter; just remember to adjust the amount to keep the mixture from becoming too oily. Coconut can be toasted lightly before adding for a deeper flavor, but it’s optional.
The Final Flourish
A few drops of pink or red food coloring give the bars a festive appearance that’s perfect for celebrations. The color also influences taste perception, making the bars feel lighter and more refreshing. If you’re concerned about artificial dyes, opt for natural colorings like beet juice or hibiscus powder for a subtle pink hue. Don’t overdo the color; a light tint keeps the bars from looking too artificial.
Everything's prepped? Good. Let's get into the real action...
The Method — Step by Step
- Begin by crushing your shortbread cookies until they’re fine crumbs—use a food processor or a sturdy bag and a rolling pin. The texture should resemble fine sand; if it’s too coarse, the bars will have uneven bite. Set aside while you prep the rest.
- In a medium saucepan, melt 1/2 cup of unsalted butter over medium heat until it foams. Add the mini marshmallows and stir constantly until they’re fully melted and the mixture is silky. This step is the moment of truth; the sauce should have a smooth, glossy sheen.
- Once the marshmallows are melted, remove the pan from heat and stir in the crushed shortbread crumbs until they’re fully coated. The mixture should feel like a dense, buttery dough that holds together when pressed.
- Stir in 2 cups of sweetened shredded coconut, ensuring an even distribution. The coconut should be fully incorporated, adding both flavor and texture. If you’re using toasted coconut, fold it in now to avoid burning.
- Add 1/4 cup of unsalted butter back into the mixture, melting it in to bind everything together. This second butter addition helps the bars set with a glossy finish.
- Add 2–3 drops of pink or red food coloring, mixing until the mixture is an even, light pink. A light hue keeps the bars looking fresh and prevents them from looking too artificial. Stir for 30 seconds to ensure the color is evenly distributed.
- Press the mixture firmly into a lined 9x9-inch pan, smoothing the top with a spatula. The pressure should create a dense, compact layer that will hold its shape when cut.
- Refrigerate the pan for at least 30 minutes, or until the bars are firm enough to cut cleanly. The bars will set faster if you keep them in the fridge at a lower temperature; a quick chill ensures a crisp edge.
That's it — you did it. But hold on, I've got a few more tricks that'll take this to another level...
Insider Tricks for Flawless Results
The Temperature Rule Nobody Follows
Keep the saucepan on medium heat and stir constantly; a low, steady temperature ensures the marshmallows melt smoothly without scorching. If you notice a brown crust forming, lower the heat immediately. I once tried a high‑heat approach and ended up with a sticky, burnt bar that was unappetizing.
Why Your Nose Knows Best
Smell the mixture as it cooks; a faint buttery aroma signals the right stage. If you catch a hint of burnt sugar, stop the heat right away. My friend once added too much butter, and the scent turned oily, which made the bars taste greasy.
The 5-Minute Rest That Changes Everything
After pressing the mixture into the pan, let it rest for 5 minutes before chilling. This pause allows the butter to re-solidify slightly, giving the bars a firmer bite. Skipping this step often results in bars that crumble when sliced.
The Sweet‑Sweet Balance
If you find the bars too sweet, reduce the marshmallows by 2 ounces. Conversely, if they’re too dry, add a tablespoon of honey or maple syrup to reintroduce moisture. The key is subtlety; a little tweak goes a long way.
The Quick Chill Trick
Place the pan on a rack in the fridge to allow air circulation. This helps the bars set evenly, preventing a soggy center. I used to put the pan directly on the fridge shelf, which caused uneven cooling.
The Color Calibration
If you’re using natural colorings, add them in small increments, tasting as you go. Natural dyes can be potent, and a little goes a long way. I once added too much beet juice, and the bars turned a muddy brown.
Creative Twists and Variations
Tropical Lime Twist
Add a tablespoon of fresh lime zest to the coconut mixture for a zesty kick that balances the sweetness. The citrus will brighten the flavor profile and add a subtle tang. This variation is perfect for summer gatherings or a beachy brunch.
Chocolate Drizzle Delight
After the bars have set, drizzle melted dark chocolate over the top. The chocolate adds a rich depth and a slightly bitter contrast to the sweet base. Sprinkle a pinch of sea salt on top for a classic sweet‑salt combo.
Nutty Crunch Upgrade
Fold in 1/2 cup of chopped toasted almonds or pecans for an extra layer of crunch. The nuts complement the coconut and add a nutty aroma. This version is great for those who love a bit of texture.
Mango‑Miso Fusion
Stir in a tablespoon of sweetened miso paste and diced ripe mango. The miso brings umami depth, while the mango adds a tropical sweetness. This unconventional combo is a conversation starter at any gathering.
Rosemary‑Honey Infusion
Add a sprig of fresh rosemary to the butter and marshmallow mixture before melting. The rosemary infuses a subtle herbal note that pairs wonderfully with honey. After the bars set, drizzle honey over the top for a glossy finish.
Espresso‑Infused Elegance
Stir in a teaspoon of instant espresso powder into the marshmallow mixture. The espresso adds depth and a subtle bitterness that balances the sweetness. This version is ideal for coffee lovers looking for a dessert with a kick.
Storing and Bringing It Back to Life
Fridge Storage
Keep the bars in an airtight container in the refrigerator for up to a week. The airtight seal prevents the bars from drying out and keeps the coconut from absorbing fridge odors. If you notice the edges becoming slightly soft, let the bars sit at room temperature for 10 minutes before cutting.
Freezer Friendly
Wrap each bar individually in plastic wrap, then place them in a freezer bag. Freeze for up to 3 months. When ready to serve, let the bars thaw at room temperature for 15 minutes; this restores the chewy center while maintaining the crisp edges.
Best Reheating Method
To revive the bars, place them on a microwave-safe plate and heat on medium power for 10–15 seconds. Add a tiny splash of water before reheating to create steam, which helps the bars regain their original texture. For a quick crisp, pop them in a preheated oven at 350°F for 3 minutes.