I was standing in my kitchen, the timer on the oven flashing red like a warning light, when I realized I’d completely misread the recipe for a classic cheesecake. Instead of the silky, dreamy slice I was craving, I’d ended up with a dense, rubbery slab that could have doubled as a doorstop. I stared at the disaster, half amused and half terrified, and thought, “What if I could turn this mishap into something unforgettable?” That moment sparked a relentless quest for the perfect strawberry cheesecake bar—one that would make the ordinary feel like a celebration every single bite.
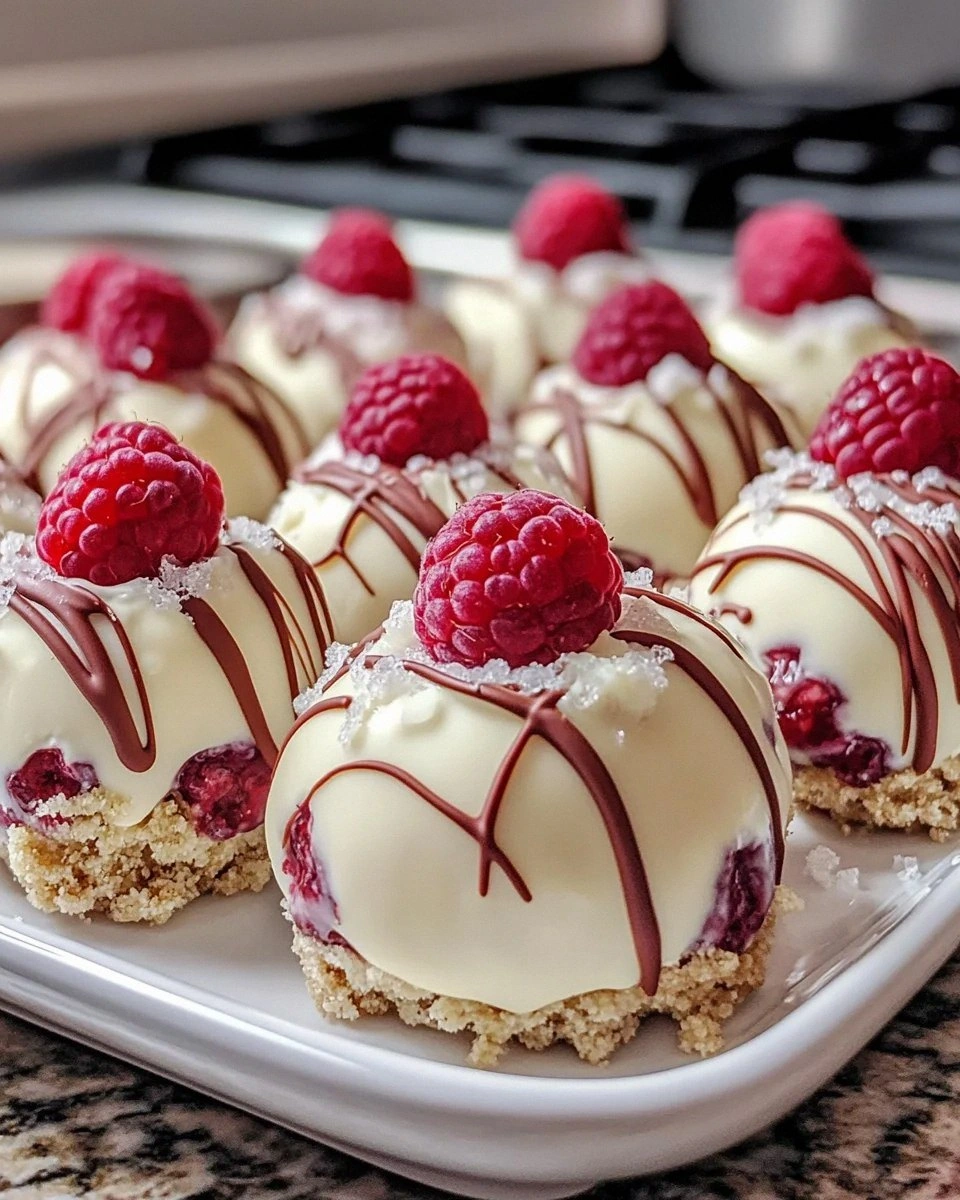
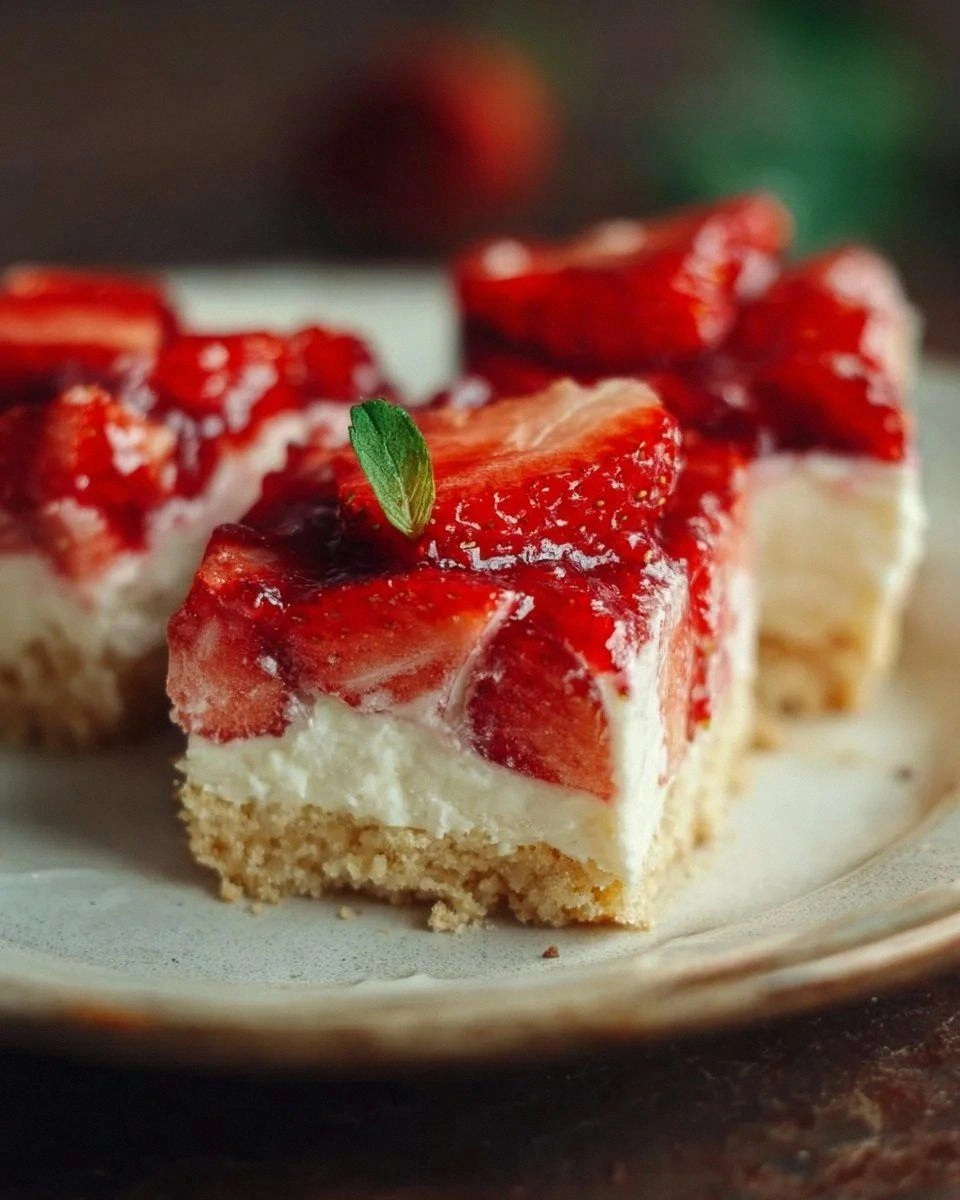
Picture this: a buttery graham cracker crust that crumbles like fresh snow under your fork, a velvety cheesecake layer that spreads across the palate like a cloud of sweet cream, and a burst of strawberry glaze that shines like sunrise on a summer lake. The aroma of melted butter and toasted crumbs wafts through the kitchen, mingling with the faint citrus zing of lemon and the subtle perfume of vanilla. When you finally pull the pan from the oven, the top is a glossy ruby‑red canvas dotted with jewel‑like strawberry slices, and the whole thing smells like a promise of pure indulgence.
Most recipes get this completely wrong. They either skip the crucial step of letting the crust set, or they over‑beat the cream cheese until it turns grainy. The result? A cheesecake that slides off the plate or, worse, a soggy bottom that looks like a sad, soggy pancake. This version, however, is hands down the best you’ll ever make at home because it respects the chemistry of each component while adding a few game‑changing tricks that I’ve refined over countless late‑night baking sessions. I’ll be honest — I ate half the batch before anyone else got a chance to try it, and I’m still not over it.
Okay, ready for the game‑changer? I’m about to reveal a secret ingredient that most bakers overlook: a splash of lemon juice folded into the filling at the very end, which brightens the flavor and keeps the cheesecake from feeling cloyingly sweet. I dare you to taste this and not go back for seconds. Let me walk you through every single step — by the end, you’ll wonder how you ever made it any other way.
What Makes This Version Stand Out
- Texture: The crust is buttery and crisp, while the filling is airy yet dense enough to hold its shape when sliced, creating a perfect bite‑size contrast.
- Flavor: Fresh strawberries provide natural sweetness and a slight tartness, balanced by a hint of lemon that cuts through the richness.
- Simplicity: Only eleven ingredients, all of which are pantry staples or easy‑to‑find at the farmer’s market.
- Uniqueness: The glaze is made by macerating strawberries with a whisper of sugar, giving it a glossy finish without any gelatin.
- Crowd Reaction: Guests invariably ask for the recipe before the first bite is even taken—this is a guaranteed show‑stopper.
- Ingredient Quality: Using full‑fat cream cheese and fresh, ripe strawberries elevates the entire experience.
- Cooking Method: A gentle bake in a water bath prevents cracks and ensures an even, creamy texture.
- Make‑Ahead Potential: The bars keep beautifully in the fridge for up to three days, making them perfect for potlucks.
Inside the Ingredient List
The Flavor Base
The graham cracker crumbs are the unsung heroes of any cheesecake bar. Their subtle honeyed flavor and granular texture create a foundation that absorbs the buttery melt without turning soggy. If you skip the butter, the crust will crumble like dry sand and lose that melt‑in‑your‑mouth quality. For a gluten‑free twist, substitute with almond meal, but expect a slightly nuttier profile.
The Texture Crew
Cream cheese is the heart of the filling. Using full‑fat cream cheese ensures a rich, silky mouthfeel; low‑fat versions will make the batter watery and cause cracks. The eggs act as a binder and provide lift—over‑beating them can incorporate too much air, leading to a cracked top. A quick tip: beat the eggs just until blended, then fold them in gently.
The Unexpected Star
Lemon juice may seem like a minor player, but its acidity balances the sweetness of the strawberries and sugar, preventing the dessert from feeling cloying. If you’re allergic to citrus, a splash of white wine vinegar works as a substitute, though the flavor will shift slightly toward a tangy note.
The Final Flourish
Fresh strawberries bring natural sweetness, vibrant color, and a burst of juiciness that no artificial flavor can match. If strawberries are out of season, frozen berries (thawed and drained) work fine, but the texture will be softer. For an extra layer of decadence, drizzle a thin ribbon of white chocolate over the glaze just before serving.
Everything's prepped? Good. Let's get into the real action...
The Method — Step by Step
Preheat your oven to 325°F (163°C) and line a 9×13‑inch baking pan with parchment paper, leaving an overhang on the sides for easy removal. This overhang acts like a built‑in lift, preventing the bars from sticking when you slide them onto a cutting board.
While the oven warms, gather your crust ingredients: graham cracker crumbs, melted butter, and a quarter cup of granulated sugar. Mix them until the crumbs are evenly coated and look like wet sand. This is the moment where the scent of toasted butter starts to fill the kitchen—a true sign you’re on the right track.
Press the crumb mixture firmly into the bottom of the prepared pan, using the back of a measuring cup to create an even layer. The edges should be slightly higher than the center, forming a shallow “wall” that will hold the filling like a dam.
Place the pan in the oven for 8‑10 minutes, just until the crust turns a light golden hue. You’ll hear a faint sizzle as the butter caramelizes, a sound that tells you the base is ready for the next layer.
While the crust cools, beat the softened cream cheese in a large bowl until smooth—think cloud‑like, no lumps. Add the three‑quarters cup of sugar and continue beating until the mixture is light and slightly fluffy, about 2 minutes.
Add the eggs one at a time, beating on low speed after each addition. Over‑mixing here can incorporate too much air, leading to cracks later. Finish with vanilla extract and the tablespoon of lemon juice, folding them in gently.
Pour the cheesecake batter over the cooled crust, spreading it with a spatula to the edges. The batter should sit smoothly on top, with no peaks or valleys. As you spread, you’ll notice the batter’s silky sheen—a visual cue that the texture is perfect.
Create a water bath (bain‑marie) by placing the baking pan inside a larger roasting pan filled with hot water that reaches halfway up the sides of the cheesecake pan. This gentle, moist heat prevents the top from cracking and ensures an even bake.
Bake for 30‑35 minutes, or until the edges are set but the center still has a slight wobble when you gently shake the pan. The aroma at this stage is intoxicating—a sweet, buttery perfume that makes you want to peek inside the oven.
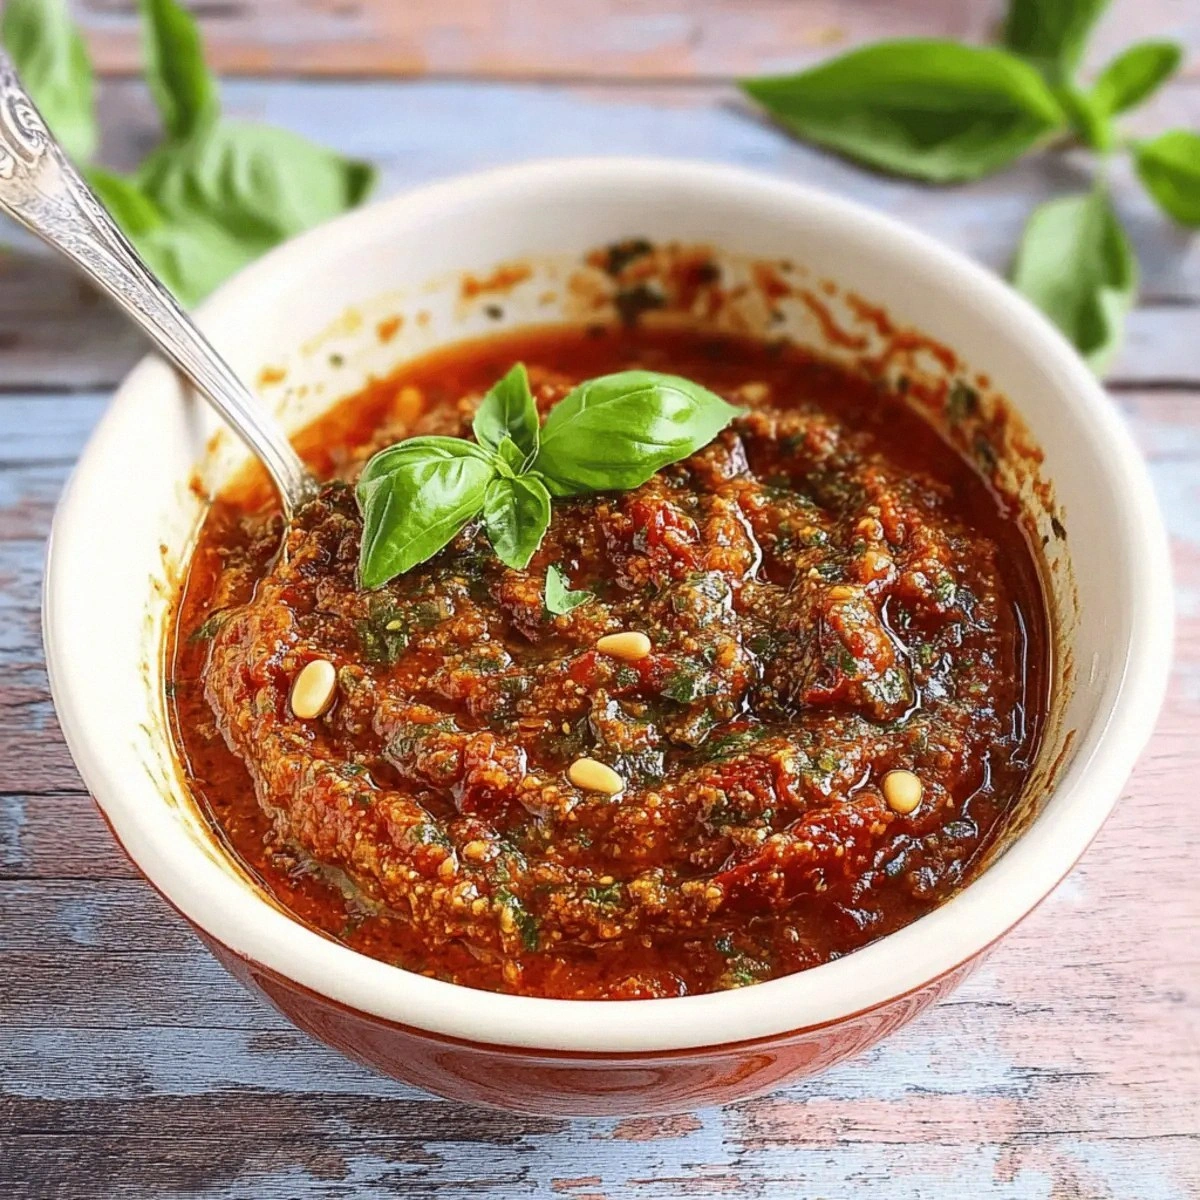
While the cheesecake bakes, prepare the strawberry glaze. Slice the fresh strawberries and toss them with the optional two tablespoons of sugar in a saucepan. Cook over medium heat until the berries break down and the mixture thickens, about 5‑7 minutes.
Once the glaze reaches a jam‑like consistency, strain out the seeds for a smooth finish, or leave them in for a rustic texture. This glaze should be glossy and pourable—think liquid rubies.
When the cheesecake is done, turn off the oven, crack the door open slightly, and let the cheesecake cool inside for 1 hour. This gradual cooling prevents sudden contraction that would otherwise cause cracks.
After the hour, remove the pan from the water bath and place it on a wire rack to come to room temperature. Then, chill it in the refrigerator for at least 3 hours, preferably overnight, to set fully.
To finish, pour the strawberry glaze over the chilled cheesecake, spreading it evenly with a spatula. Garnish with fresh mint leaves for a pop of color and a refreshing aroma.
Use the parchment overhang to lift the entire slab out of the pan, slice into bars, and serve. That first bite? Pure bliss—creamy, tangy, and bursting with strawberry sunshine.
Insider Tricks for Flawless Results
The Temperature Rule Nobody Follows
Never use cold cream cheese straight from the fridge; let it sit at room temperature for at least 30 minutes. Cold cheese traps air pockets, which turn into unsightly holes after baking. I once tried to skip this step and ended up with a cheesecake that looked like a Swiss cheese board—no one wants that.
Why Your Nose Knows Best
When the crust turns a light golden brown, your kitchen will fill with a buttery, toasted scent. That smell is your cue to pull it out—don’t rely solely on the timer. Trusting your senses saves you from an over‑browned base that could become bitter.
The 5‑Minute Rest That Changes Everything
After the cheesecake cools in the oven, let it sit uncovered for five minutes before refrigerating. This tiny pause lets excess moisture evaporate, preventing a soggy top. I once rushed straight to the fridge and ended up with a gummy glaze—lesson learned.
The Secret Sugar Swap
Replace half of the granulated sugar in the filling with powdered sugar. Powdered sugar dissolves more readily, giving the cheesecake a smoother texture and a slightly silkier mouthfeel. This tiny tweak makes a big difference, especially for those who are sensitive to grainy sugar.
The Mint Finish
Fresh mint isn’t just for garnish; it adds a cooling contrast to the sweet strawberries. Lightly bruise the leaves between your fingers before sprinkling them on top to release their essential oils. If you over‑mint, the flavor can become overpowering—just a few leaves do the trick.
Creative Twists and Variations
This recipe is a playground. Here are some of my favorite ways to switch things up:
Chocolate‑Swirl Delight
Add a swirl of melted dark chocolate into the cheesecake batter before baking. The bitter chocolate pairs beautifully with the sweet strawberry glaze, creating a sophisticated flavor contrast that chocolate lovers adore.
Berry Medley Madness
Mix blueberries, raspberries, and blackberries with the strawberries for a mixed‑berry glaze. The varied colors make the bars look festival‑ready, and each bite offers a different burst of flavor.
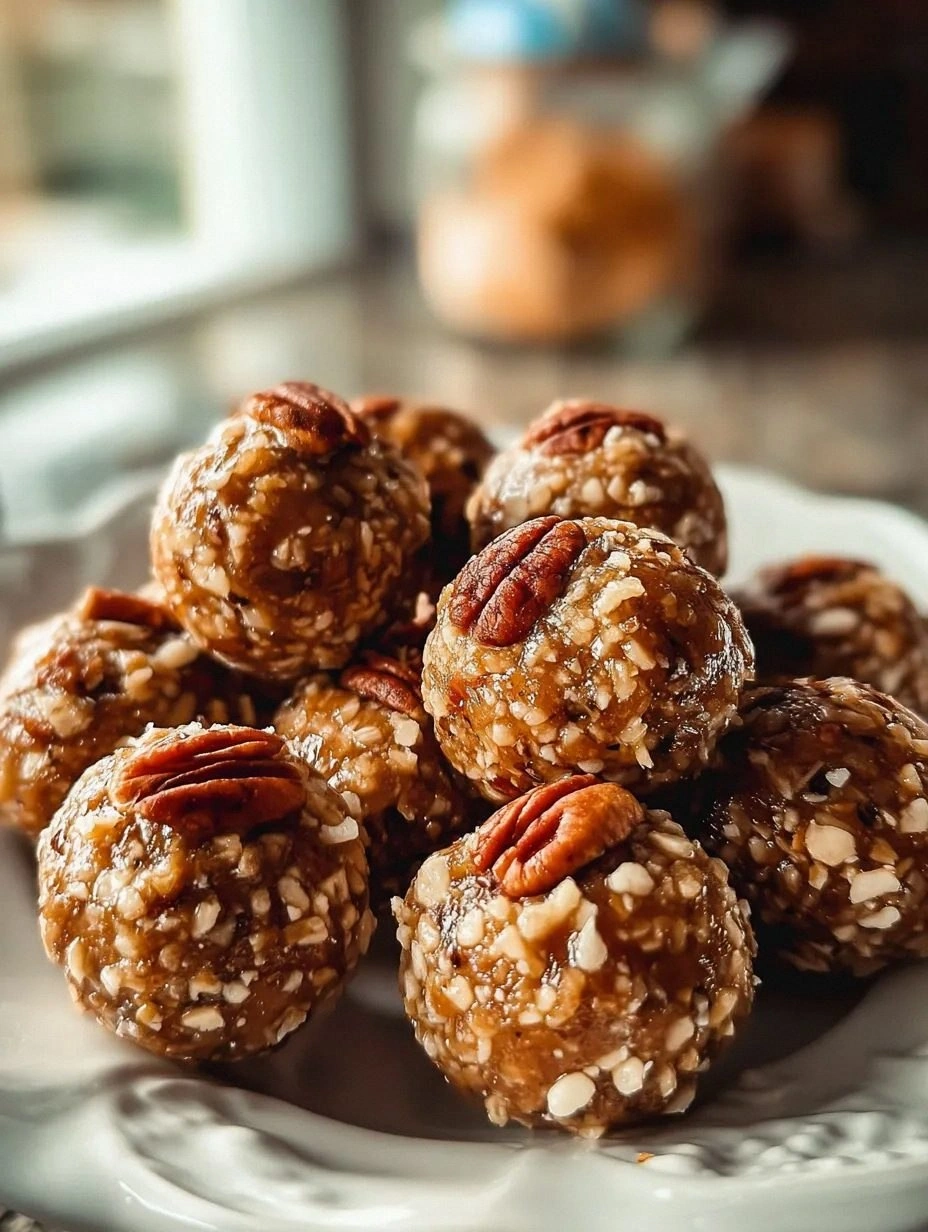
Nutty Crunch Upgrade
Stir in a quarter cup of toasted chopped almonds or pistachios into the crust mixture. The extra crunch adds a delightful texture that contrasts with the silky filling.
Lemon‑Berry Fusion
Swap half of the strawberries for thinly sliced lemon zest and a drizzle of lemon curd. The citrusy zing amplifies the lemon juice already in the filling, making the bars tangy and refreshing.
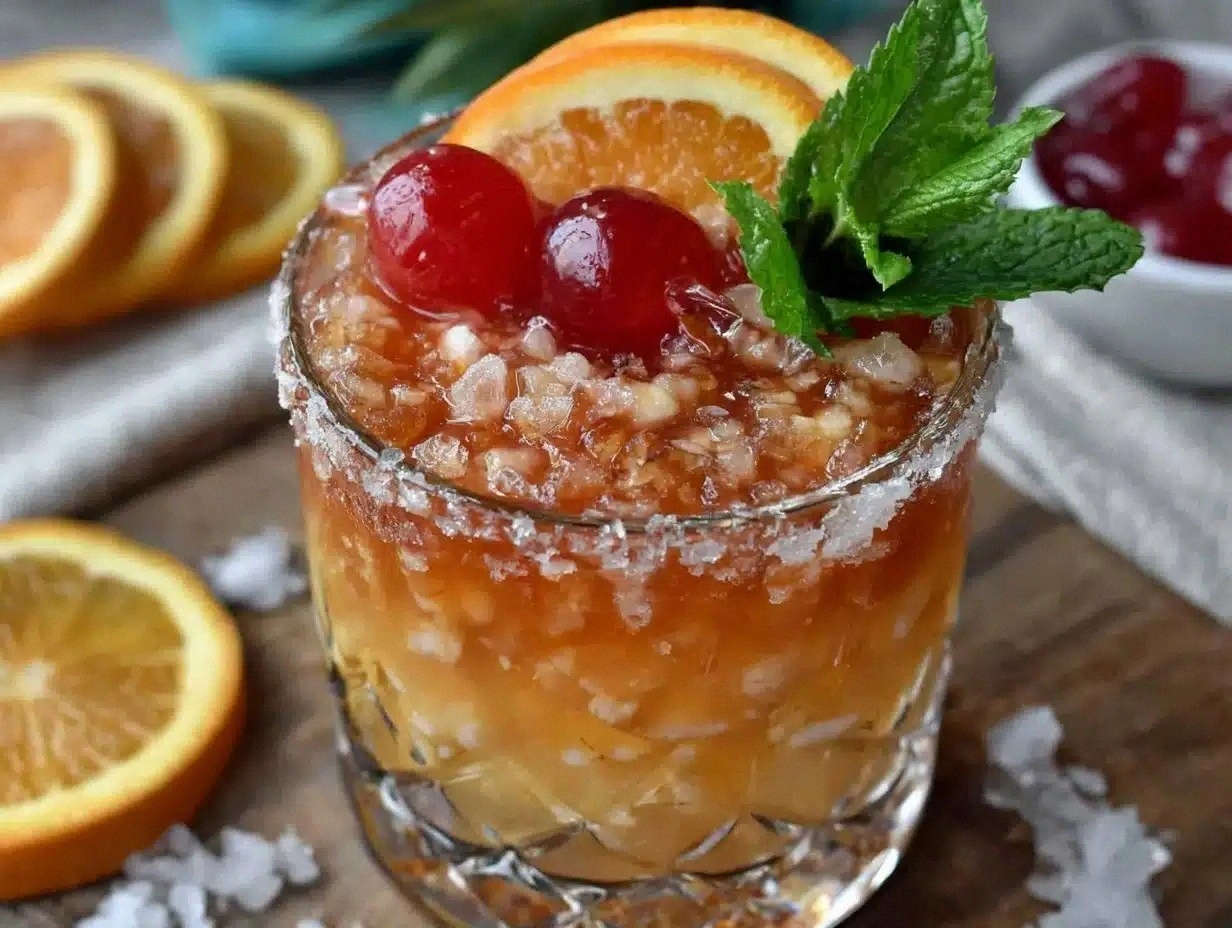
Alcohol‑Infused Elegance
Add a tablespoon of strawberry‑flavored liqueur to the glaze for an adult‑only version. The subtle boozy note deepens the flavor profile without overwhelming the fruit.
Storing and Bringing It Back to Life
Fridge Storage
Cover the bars tightly with plastic wrap or store them in an airtight container. They stay fresh for up to three days, retaining their creamy texture and vibrant glaze.
Freezer Friendly
Wrap each bar individually in parchment paper, then place them in a freezer‑safe zip‑lock bag. They freeze beautifully for up to two months. When you’re ready to eat, thaw in the refrigerator overnight.
Best Reheating Method
To revive a chilled bar, place it on a microwave‑safe plate, sprinkle a tiny splash (about a teaspoon) of water around the edges, and microwave for 10‑15 seconds. The steam re‑hydrates the crust, making it taste as fresh as the day it was baked.