Picture this: a Saturday night, a half‑cooked dinner that went spectacularly wrong, and a frantic scramble to salvage the meal. I had a pile of pork chops that had somehow become as dry as a desert, a pantry that smelled like a forgotten spice aisle, and a stubborn craving for something crispy and comforting. I was staring at the stove, feeling the heat like a guilty conscience, when the idea hit me: why not turn that sad pork into a Japanese Katsu Bowl that could turn the whole kitchen into a carnival of flavor?
I was not just making a dish; I was creating a sensory experience. The sizzling sound as the oil met the breaded pork was a drumbeat, the aroma of toasted panko mingled with the sharpness of soy and the subtle sweetness of mirin, and the first bite was a paradox of crunch and tenderness that made my taste buds do a happy dance. I swear the moment the first golden piece hit the rice, the room smelled like a warm, comforting hug that made me forget the earlier disaster.
This version stands out because it combines a meticulously balanced sauce, a perfect crunch, and a generous amount of rice that soaks up the umami without drowning. It’s not just a bowl; it’s a symphony where each element—pork, onion, rice, and sauce—has a solo but still plays in harmony. I dare you to taste this and not go back for seconds, because it’s that addictive.
The secret? A sauce that coats the pork like velvet, a coating that shatters like thin ice when you bite, and a technique that ensures the pork stays juicy inside while the exterior turns into a crispy masterpiece. I’ve tweaked the proportions until the flavor was just right: not too salty, not too sweet, but a balanced umami that lingers on the palate. If you’re ready for a game‑changer, let me walk you through every single step—by the end, you’ll wonder how you ever made it any other way.
What Makes This Version Stand Out
- Crunch: The panko coating gives a light, airy texture that crunches to perfection, unlike the dense crumbs of a standard tonkatsu.
- Umami: The combination of dashi, soy, mirin, and a touch of sugar creates a sauce that’s deeper than any instant ramen seasoning.
- Balance: The ratio of pork to rice ensures every bite is satisfying without feeling heavy.
- Speed: The whole process takes under an hour, making it ideal for a weekday dinner or a quick weekend treat.
- Make‑ahead: The sauce can be pre‑made and the pork can be breaded and frozen; just fry when ready.
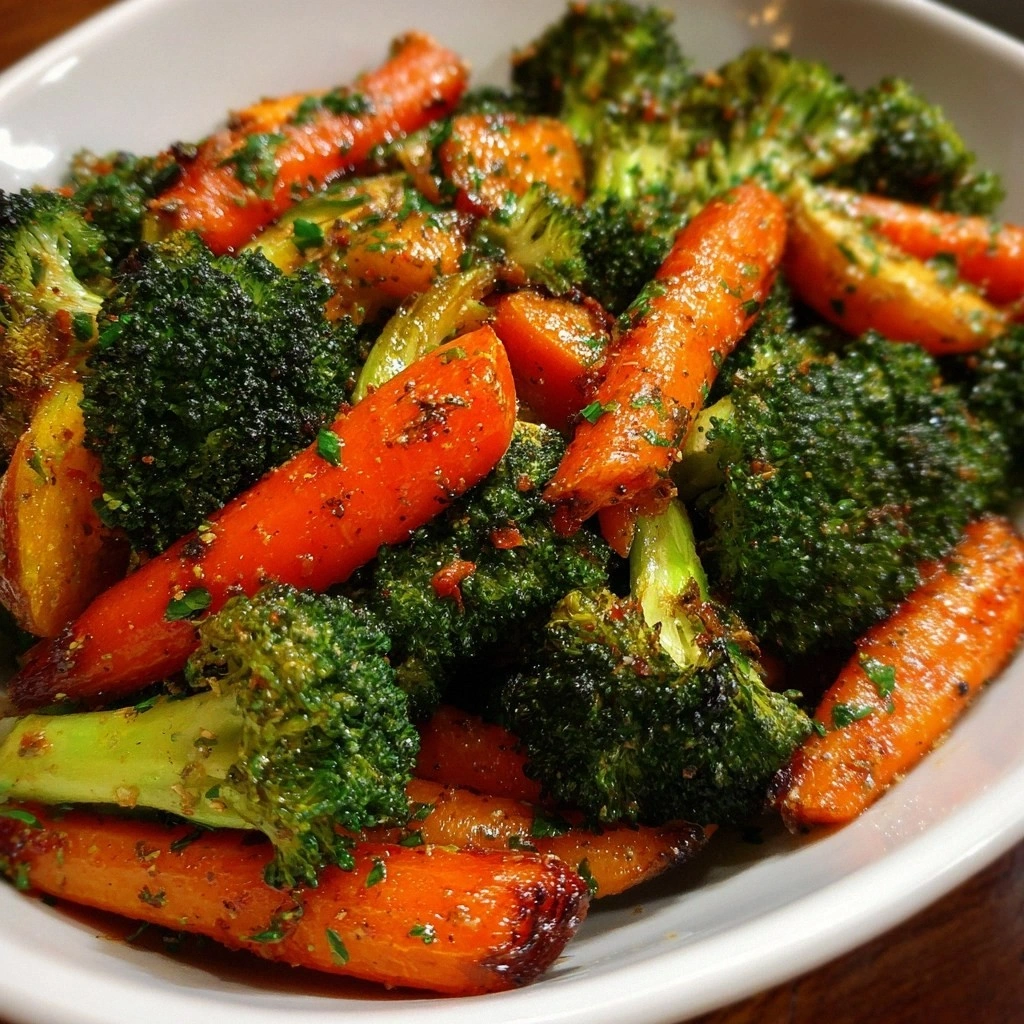
- Visual Appeal: The bright yellow onions, the glistening soy glaze, and the pop of sesame seeds create a bowl that looks as good as it tastes.
Inside the Ingredient List
The Flavor Base
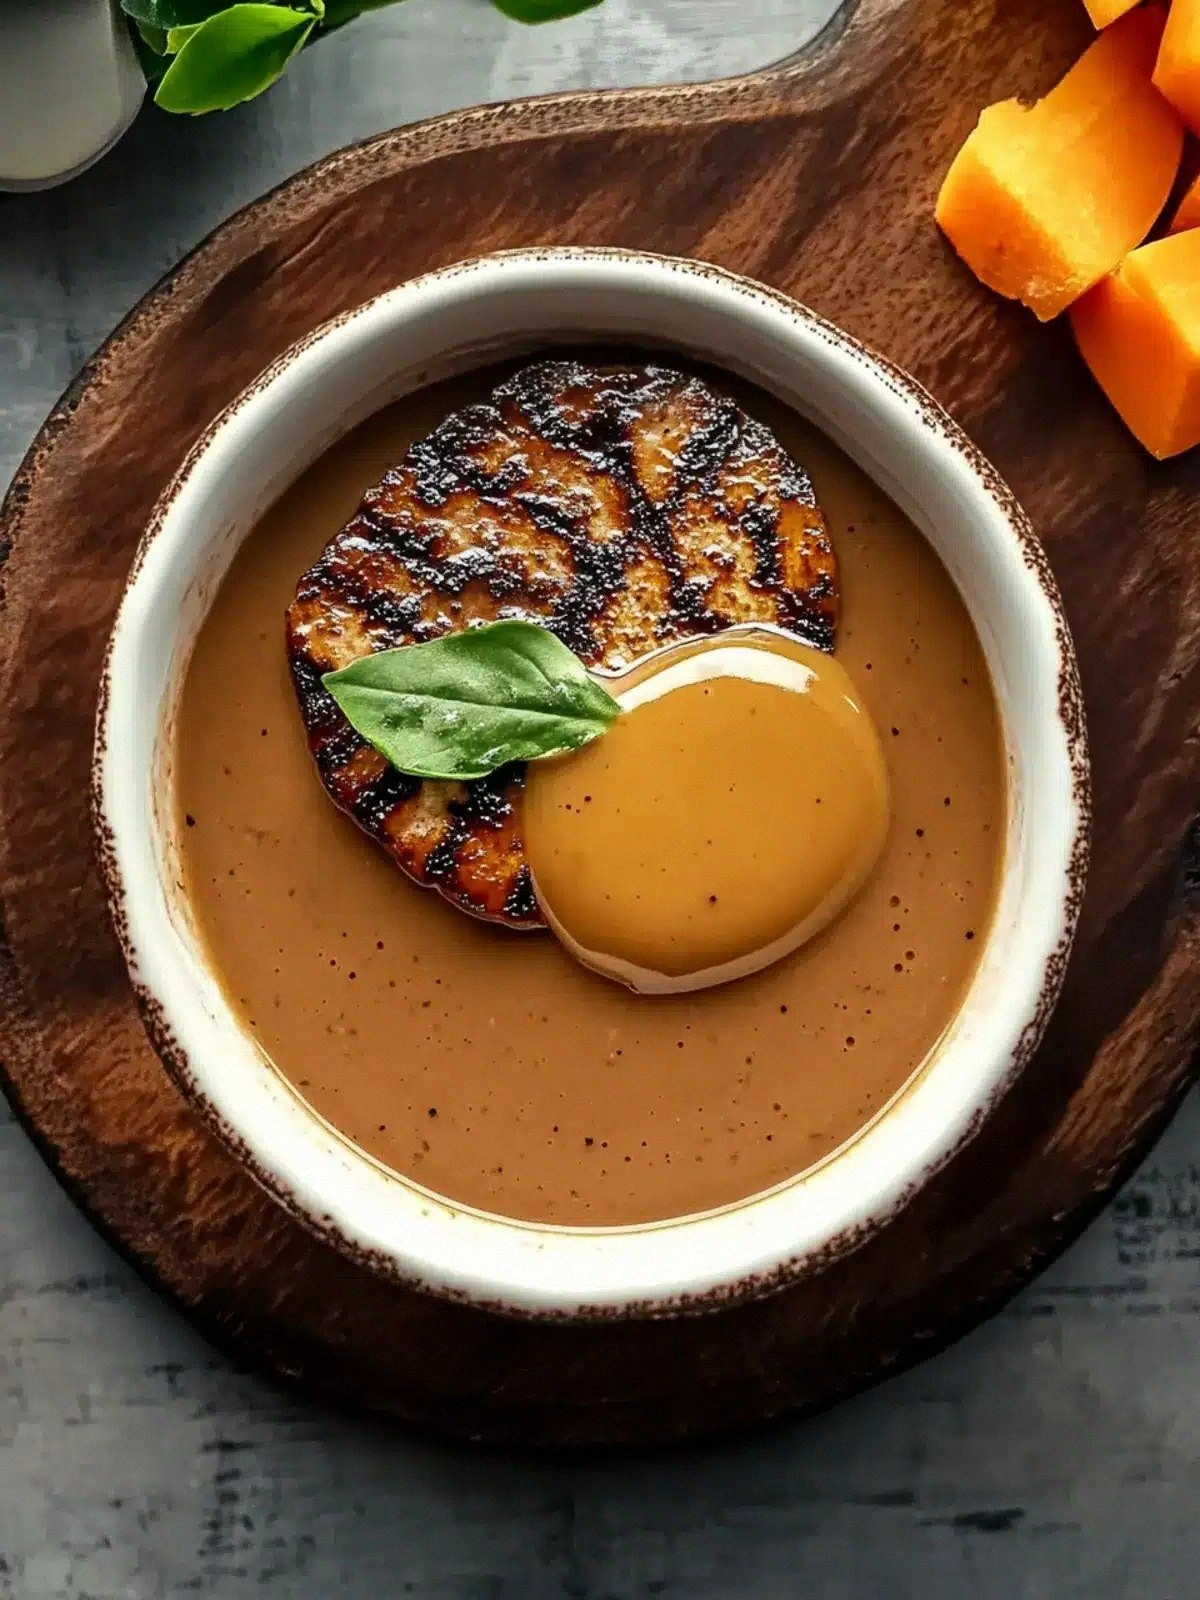
The sauce is the heart of this bowl. Dashi stock, a Japanese stock made from kombu and bonito flakes, brings a subtle, savory depth that is essential for authentic flavor. Soy sauce adds saltiness and a dark richness, while mirin offers a gentle sweetness that balances the umami. A tablespoon of sugar nudges the sauce toward the sweet‑savory sweet spot that makes the pork’s exterior caramelize beautifully.
The Texture Crew
Panko breadcrumbs are the secret to that light, airy crunch that doesn’t turn soggy even after the pork sits on the rice. The flour creates a dry surface for the egg to stick to, ensuring the panko adheres. Two large eggs, lightly beaten, act as the glue that binds the coating together. If you skip any of these, the coating will either fall apart or become clumpy.
The Unexpected Star
The small yellow onion, thinly sliced, adds a caramelized sweetness that contrasts the savory pork. When sautéed until golden, the onion releases natural sugars that mingle with the sauce, creating a depth of flavor that elevates the entire bowl. If you leave the onion out, you lose that sweet‑savory balance.
The Final Flourish
Scallions and toasted sesame seeds finish the dish with a fresh, herbaceous note and a nutty crunch. These garnishes not only add color but also bring additional layers of aroma and texture. Skipping them turns the bowl into a plain, albeit still delicious, version.
Everything's prepped? Good. Let's get into the real action…
The Method — Step by Step
- Season the pork chops on both sides with salt and freshly ground black pepper. This simple step ensures that the flavor penetrates the meat before the coating sticks. A well‑seasoned pork base is the foundation of a great Katsu.
- Set up a breading station: a shallow dish of flour, a second with beaten egg, and a third with panko breadcrumbs. Dip each pork chop first in flour, then egg, then panko, pressing gently to adhere. This tri‑layer method guarantees a crisp, even crust.
- Heat about 1/2 cup of vegetable oil in a large skillet over medium‑high heat. The oil should shimmer but not smoke; a drop of water should sizzle and evaporate immediately. This temperature is key to achieving a golden exterior without over‑cooking the pork.
- Place the breaded pork in the hot oil, being careful not to overcrowd the pan. Fry each side for 3–4 minutes until the coating is a deep golden brown and the pork is cooked through. The internal temperature should reach 145°F (63°C).
- Remove the pork and let it rest on a wire rack or paper towels to drain excess oil. This step ensures the exterior stays crisp. If you skip this, the pork will become greasy and lose that coveted crunch.
- While the pork rests, sauté the sliced onions in the same skillet with a splash of oil until translucent and golden. The residual flavor from the pork adds depth to the onions. This also helps to deglaze the pan, capturing all the browned bits.
- Add the dashi stock, soy sauce, mirin, and sugar to the skillet, stirring to combine. Let the mixture simmer for 2 minutes, allowing the flavors to meld. The sauce should thicken slightly, coating the onions.
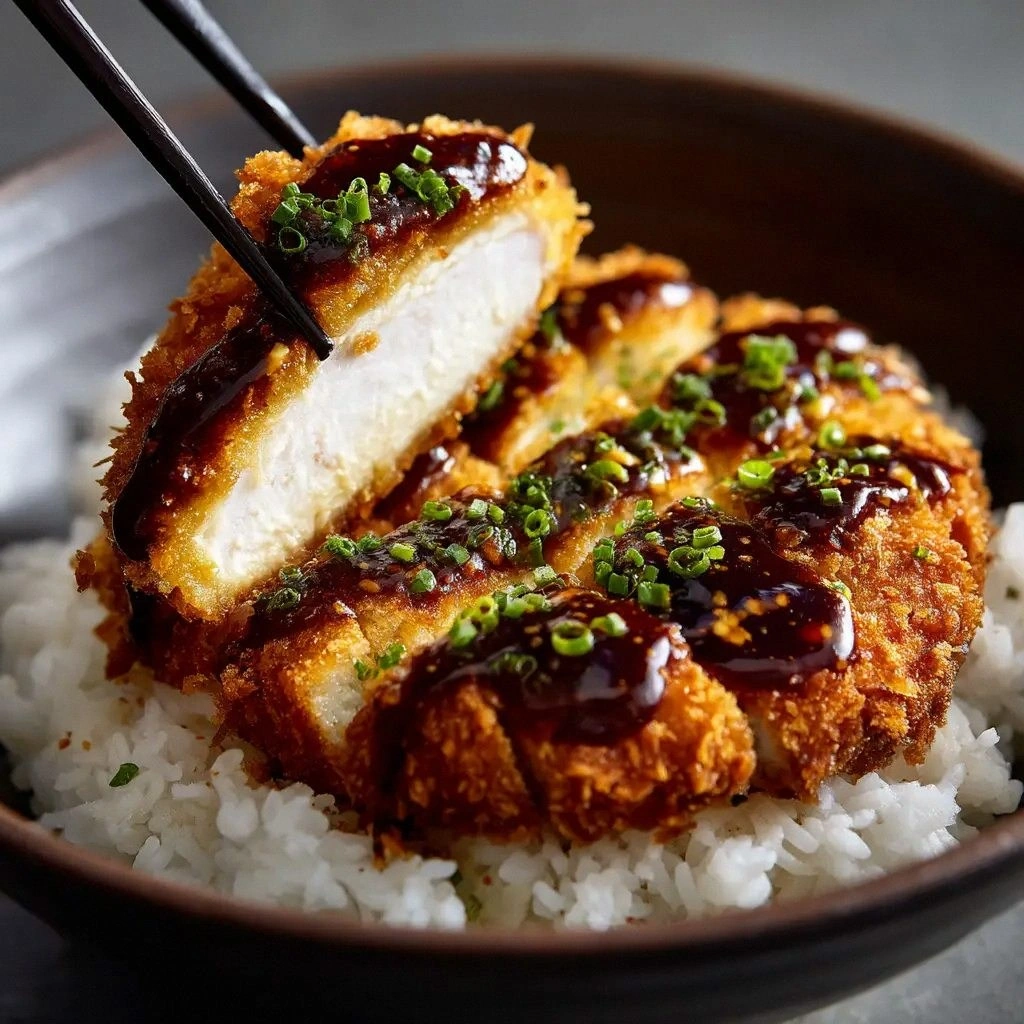
- Slice the rested pork into strips and arrange over a bed of hot short‑grain rice. Drizzle the simmered sauce over the pork and rice, and top with the sautéed onions. Sprinkle scallions and toasted sesame seeds for the final flourish.
That’s it— you did it. But hold on, I've got a few more tricks that'll take this to another level…
Insider Tricks for Flawless Results
The Temperature Rule Nobody Follows
Many cooks fry at a low heat, which leads to soggy coating. Keep the oil at a steady 350°F; this ensures a crisp exterior while keeping the pork juicy. If you’re using a skillet that heats unevenly, rotate the pork halfway through each side.
Why Your Nose Knows Best
Smell the sauce as it simmers: a slight caramel scent indicates the sugars are starting to brown. If it smells flat, let it reduce a bit longer. Your nose is a reliable indicator of depth of flavor.
The 5‑Minute Rest That Changes Everything
Letting the pork rest for five minutes after frying allows the juices to redistribute, preventing a dry center. A friend once skipped this step and the pork was as dry as a cracker. Trust me, that rest is worth the time.
Use Fresh Dashi for Authentic Flavor
Store‑bought dashi powder is convenient but can feel flat. If you can, make a quick dashi by simmering kombu and bonito flakes in water for 10 minutes. The result is a richer, more nuanced sauce.
The Onion Trick
Sauté onions until they’re caramelized, not just translucent. The caramelization releases sugars that marry with the soy, creating a sweet‑savory undertone that elevates the dish.
The Quick Flip
Flip the pork only once per side. Multiple flips can break the coating and make it uneven. A single, confident flip keeps the crust intact.
Creative Twists and Variations
This recipe is a playground. Here are some of my favorite ways to switch things up:
Crispy Chicken Katsu Bowl
Swap pork for boneless chicken thighs for a leaner protein. Use the same breading technique; the result is equally crunchy and flavorful.
Vegetarian Vibe
Replace pork with thick slices of eggplant or tofu. Coat with panko and fry until golden. The sauce will still cling beautifully.
Spicy Sesame Katsu
Add a teaspoon of sriracha or gochujang to the sauce for a kick. The heat pairs nicely with the sweet soy glaze.
Gluten‑Free Version
Use a gluten‑free flour blend in place of all‑purpose flour and gluten‑free panko. The texture remains crisp, and the dish stays safe for those avoiding gluten.
Breakfast Katsu Bowl
Serve the pork over a bed of scrambled eggs instead of rice. The protein boost makes it a hearty morning meal.
Noodle Twist
Swap rice for udon or soba noodles. The chewy noodles complement the crunchy pork and savory sauce.
Storing and Bringing It Back to Life
Fridge Storage
Store the cooked pork and sauce separately in airtight containers. Keep the rice in a separate container to avoid sogginess. Consume within 2 days for best flavor.
Freezer Friendly
Freeze the pork pieces in a single layer on a tray before transferring to a freezer bag. The sauce can be frozen as well. Reheat both in the microwave, then finish with a quick pan sear for crispness.
Best Reheating Method
Add a splash of water to the rice before reheating to keep it fluffy. Reheat the pork in a hot skillet for 2 minutes to restore crispness. The sauce will thicken slightly; stir in a pinch of water to loosen if needed.